Plane Wave Imaging, the Simple and Plane Way to Go for Weld Inspections
Ask an expertUltrasonic Testing (UT) has evolved significantly with the advent of advanced phased array techniques. Among these, Plane Wave Imaging (PWI) in combination with Time-of-Flight Diffraction (TOFD) has emerged as a powerful inspection method. This hybrid approach enhances defect detectability, improves sizing accuracy, and dramatically increases inspection speed, offering a robust alternative to conventional radiographic testing (RT) for carbon steel pipe- or circumferential welds and material inspections.
The Challenge
With advancements in ultrasonic technologies such as PAUT, FMC-TFM, and PWI, the industry is moving away from radiography inspections—once the standard for weld evaluation—toward safer, more efficient, and equally reliable ultrasonic methods that eliminate many HSE and logistical challenges.
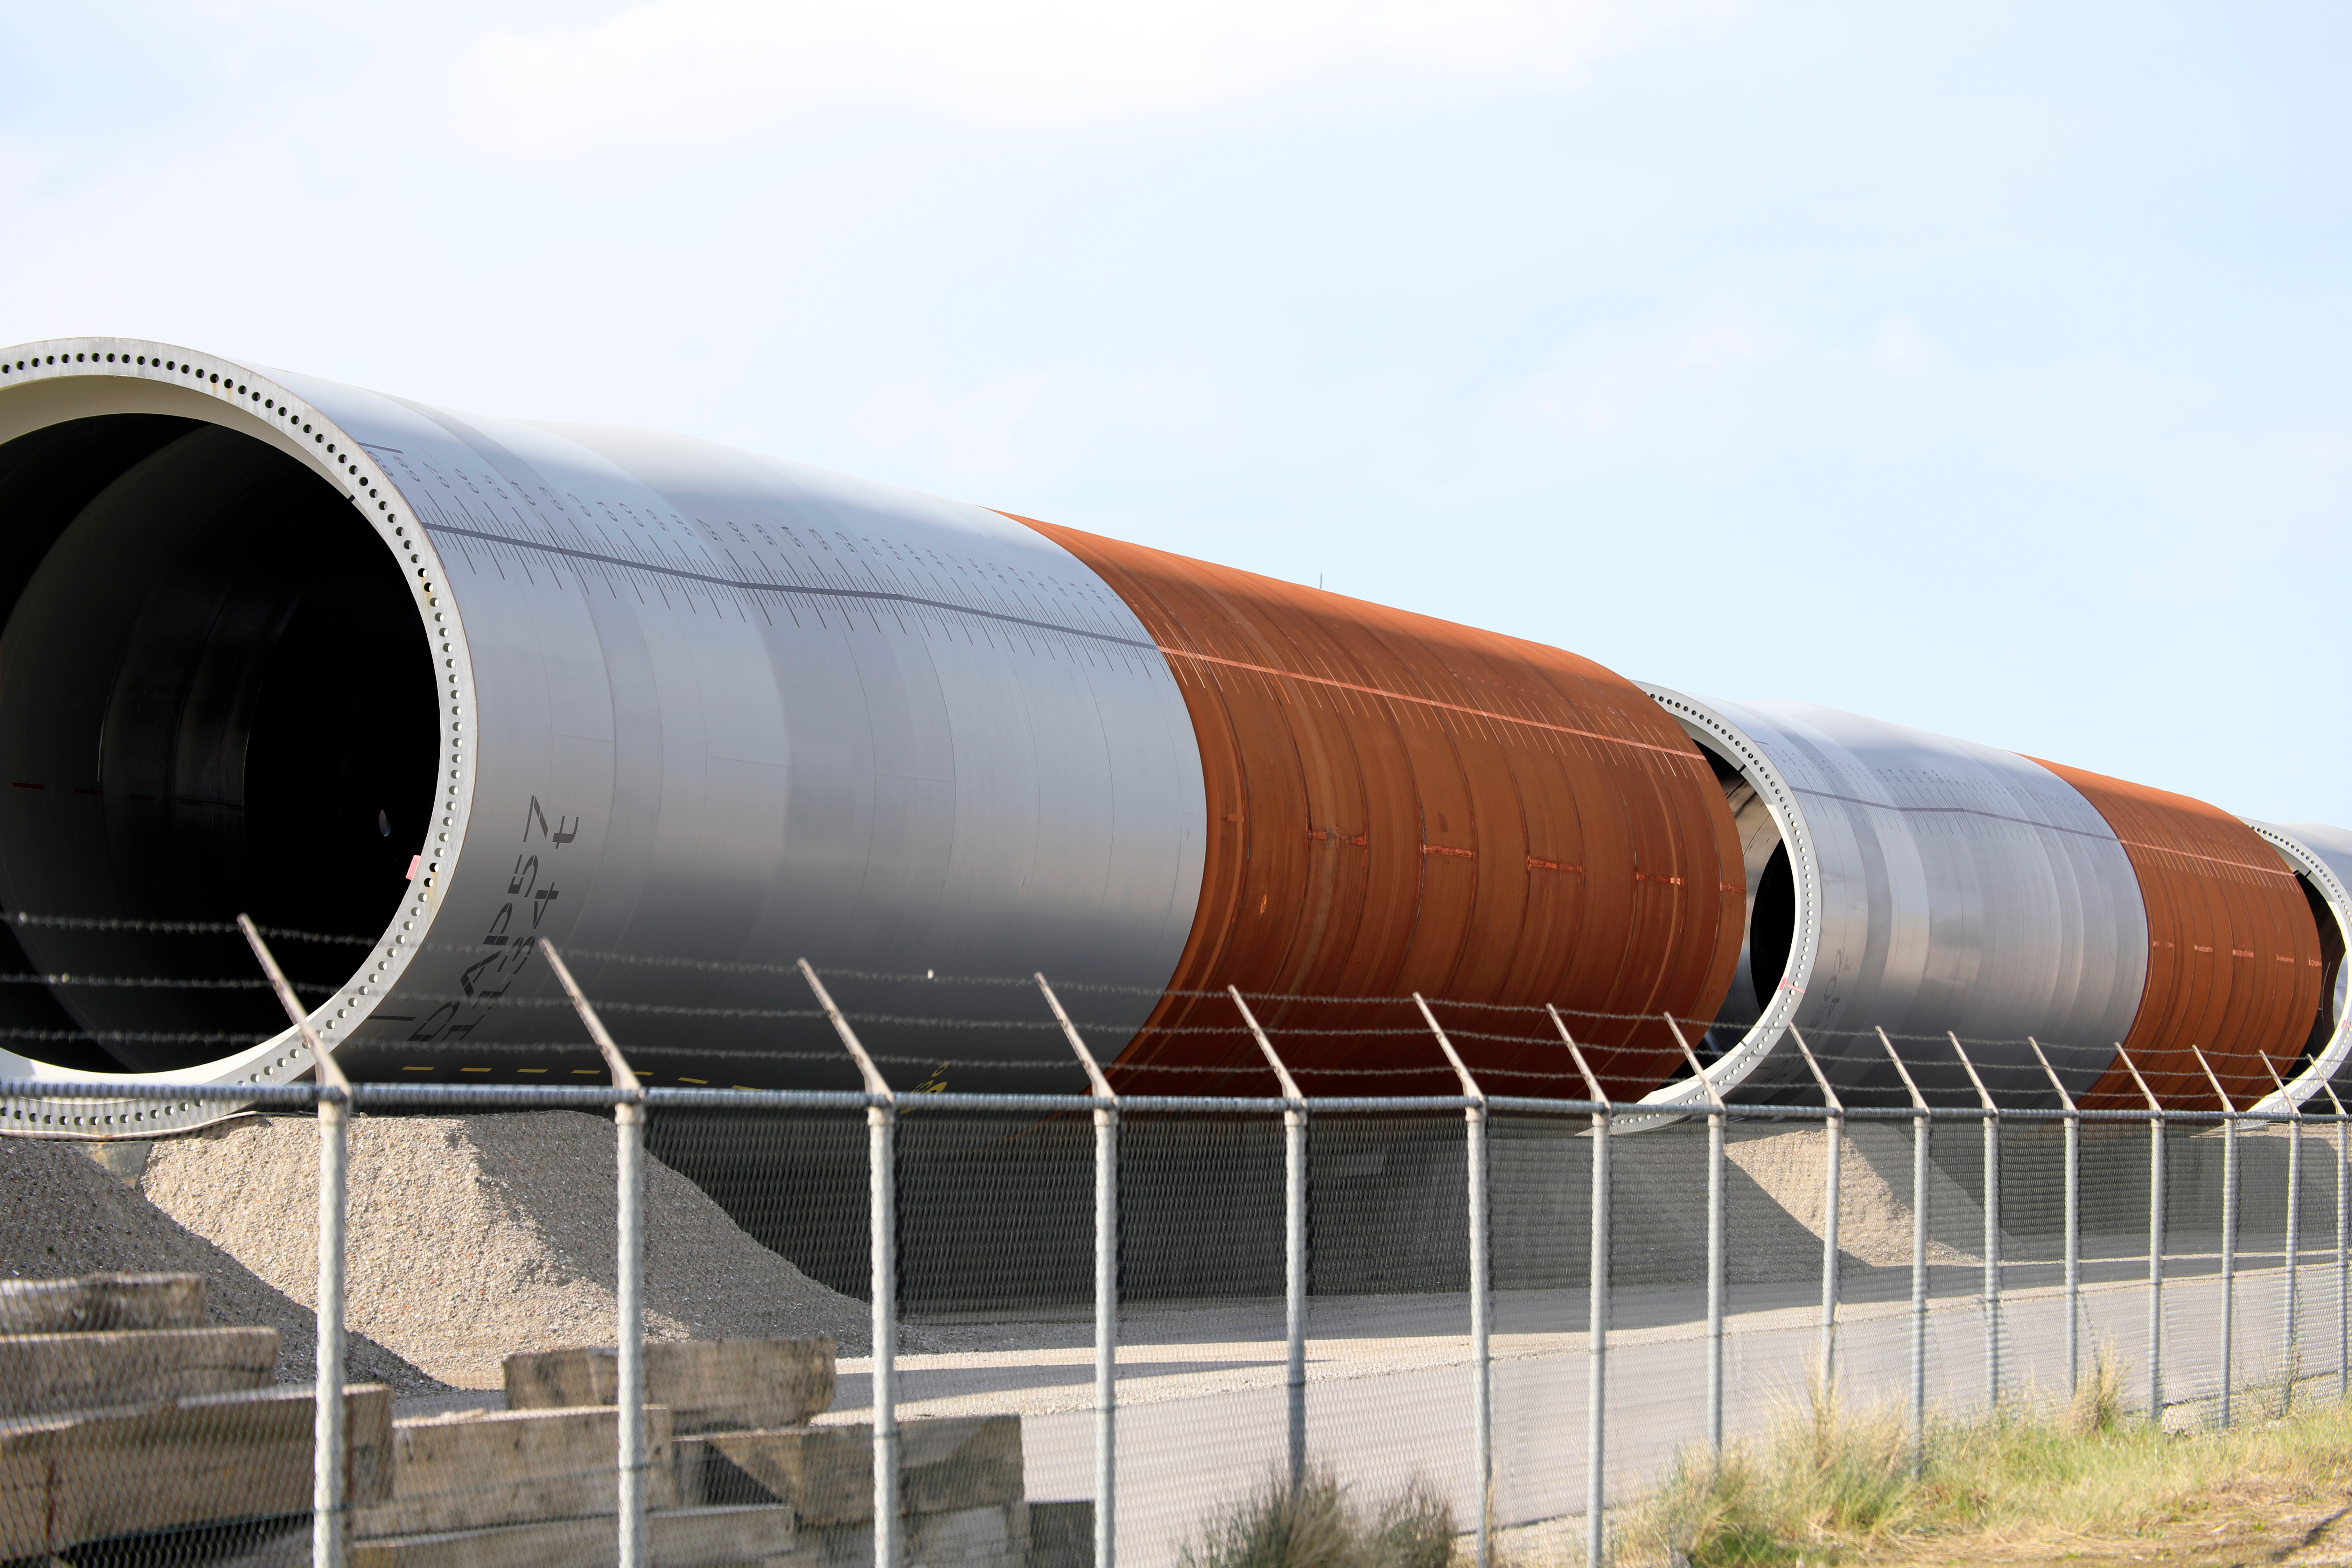
Figure 1:
Steel foundations of a windturbine
A vast majority of Non-Destructive inspections these days are done on carbon steel, circumferential or pipe weld inspections. Historically, these welds were inspected using either a radiography type inspection or an ultrasonic type of inspection. But why should you still use radiography as a go to inspection technique, and how can ultrasonic weld inspections be improved so that radiography can be eliminated all together?
We are all familiar with the issues that occur when we plan for another radiography weld inspection. Tons of requirements around safety, Health, Safety, and Environment (HSE), nightshifts, or the evacuation of the area where the work must take place. While radiography used to be a better inspection solution in the past, that is now history for good. The reason for this is the constant and sturdy development around ultrasonic inspections and particularly Phased-Array Ultrasonic Testing (PAUT), Full Matrix Capture (FMC) - Total Focusing Method (TFM), and PWI.
The Solution
Building on decades of phased array innovation, PWI represents the next leap in ultrasonic testing—delivering high-resolution, high-speed, and real-time imaging that, when combined with TOFD and the cutting-edge Cypher® set a new benchmark for efficient, accurate, and cost-effective weld inspections.
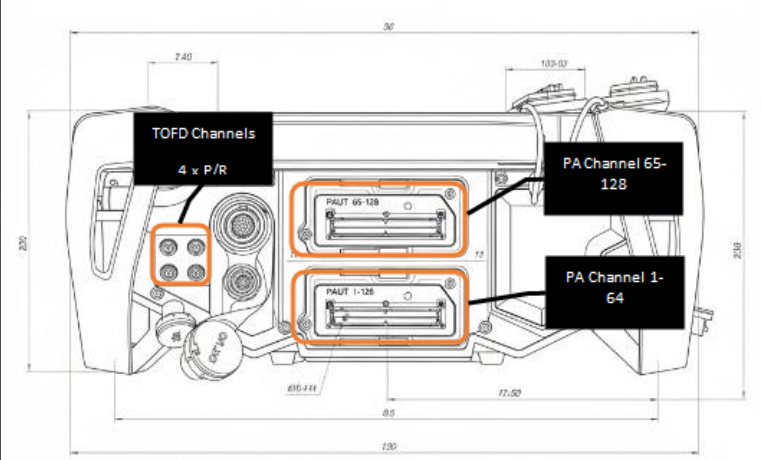
Figure 2:
Cypher explained
Cypher represents the next evolution in portable ultrasonic inspection, merging the proven capabilities of Gekko™ and TOPAZ into one unified platform. Designed for reliability, speed, and ease of use, Cypher outperforms its own predecessors when it comes to agility and processing speed.
The hardware has some remarkable features such as the double IPEX connectors, which omit the need for splitters and therefore avoid the additional noise introduced by these splitters, ultimately increasing the Signal to Noise Ratio (SNR). The unit also has 4 conventional channels that can be used in both pulse and receive mode, allowing for the connection of 2 TOFD pairs during critical inspections on thicker materials. If Eddyfi Technologies’ probes are used, the PA probes will automatically be recognized by the software and all settings for the probe set in the software.
Other features to note are the large (12.1”) capacitive touchscreen and large rotary knob, allowing for perfect interaction with the user intuitive menu driven software. The large passive cooling combined with active cooler-fan allows for inspections in any type of environment, even for remote inspections where the large dual hot swap batteries last up to 5 hours.
Cypher software is available in a PC version and is fully featured and compatible with the portable version. The user interface is redesigned to benefit from the ease of use like the Gekko does, but still allowing for the complex setup like the TOPAZ could. Data generated by Cypher software has an open structure and can also be used in Ultravision® and its highly advanced analyses tools. The compatibility with Ultravision is bidirectional, so setups created in Ultravision can now be exported to the Cypher; the latter also applies for setups created with Cypher-PC.
The latest development of ultrasonic testing is PWI. This development is the result of further developments on the phased array techniques developed since the 1990’s and encompasses a combination of high-resolution imaging with high efficiency inspections. The difference in today’s PAUT equipment is being made by using state of the art electronic components and electronics designs. This enables the use of different inspection techniques at high speeds with real-time data processing.
If we also want to increase the POD of the inspection even further, a combination of PAUT or PWI with TOFD is vital. TOFD enhances the detection of plane defects such as cracks in welds, while it also enables much more reliable height sizing capabilities. To be able to process data in real time using multiple techniques requires a lot of processing power and a state-of-the-art design. A PAUT device that is designed according to the latest standards is Cypher® from Eddyfi Technologies.
In terms of technical capabilities, Cypher delivers industry-leading PAUT, TOFD, FMC-TFM, PWI and PCI performance, all possible in a multigroup setup. This is particularly interesting for weld inspections, as this allows for PAUT or PWI scanning of the weld from both sides using two PA probes and combining this multigroup setup with TOFD. This setup would allow for the whole weld to be scanned in one pass using a weld scanner. Cypher has inbuild controls that can communicate directly with the scanner's controller. This allows for scanning welds in difficult places to reach using consolidated motion and acquisition controls between Cypher and scanners.
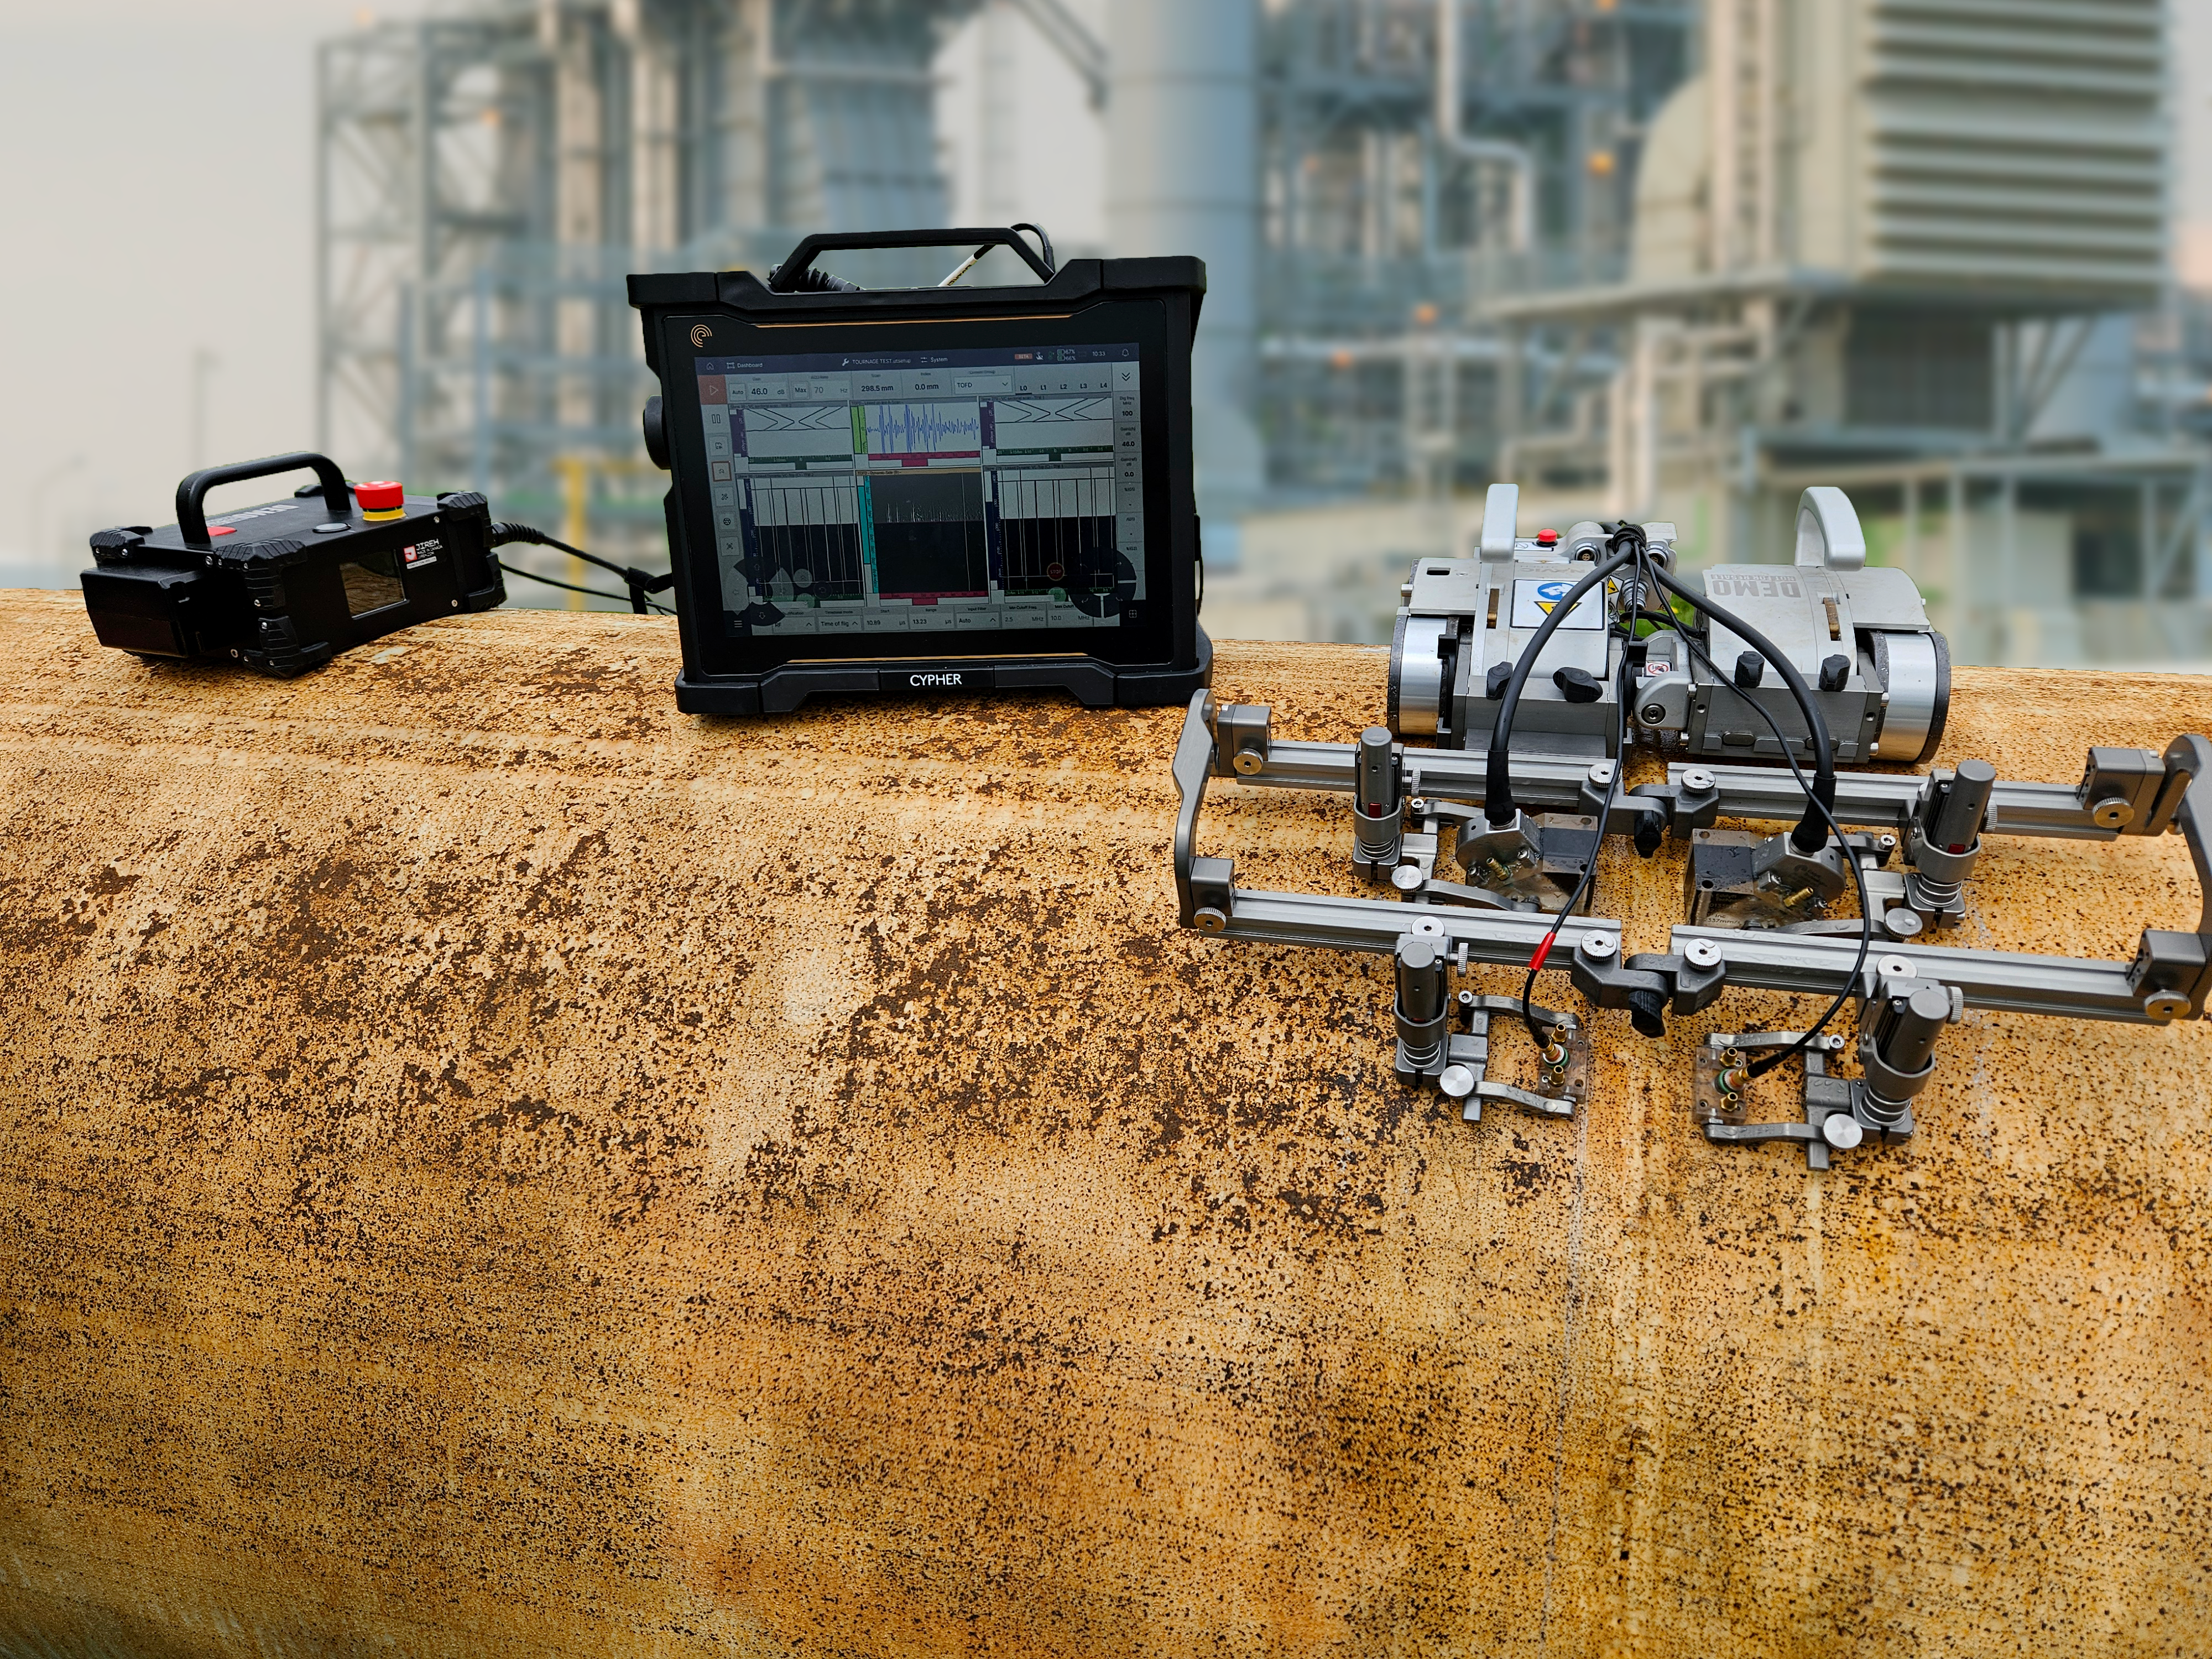
Figure 3:
Cypher in Oil & Gas Applications
The use of Cypher with PWI and TOFD when compared to radiography delivers better detectability of defects, at much higher speeds and at much lower cost and safety issues. A recent study has shown that the CAPEX investment for an advanced PAUT system is 50% lower than radiography equipment while the OPEX cost could be as low as -60%.
Time wise, we can conclude that a PWI+TOFD inspection can be done around 2.5 times faster than radiography.
That’s a no brainer when it comes to choosing the inspection method and equipment for the next pipe weld inspection.
Principle of Plane Wave Imaging
Plane Wave Imaging utilizes electronic beam steering to transmit multiple plane waves at different angles using the full aperture of a phased array probe. Unlike conventional phased array techniques that rely on sequential focused beams (sectorial scanning). PWI excites the array with a small number of broad, unfocused plane waves, then records full matrix data from each transmission. It then uses coherent compounding to reconstruct high-resolution images.
This results in faster data acquisition and improved signal-to-noise ratio (SNR), making it ideal for real-time imaging.
Integration with Time-of-Flight Diffraction
TOFD complements PWI by using diffracted signals from crack tips rather than reflected echoes, providing precise flaw sizing independent of amplitude. When combined with PWI, it offers high-resolution volumetric imaging, ideal for detecting, sizing, and characterizing flaws.
TOFD provides accurate depth sizing and crack tip localization. Together, they deliver a complete, redundant assessment, detecting both volumetric and planar defects with exceptional accuracy.
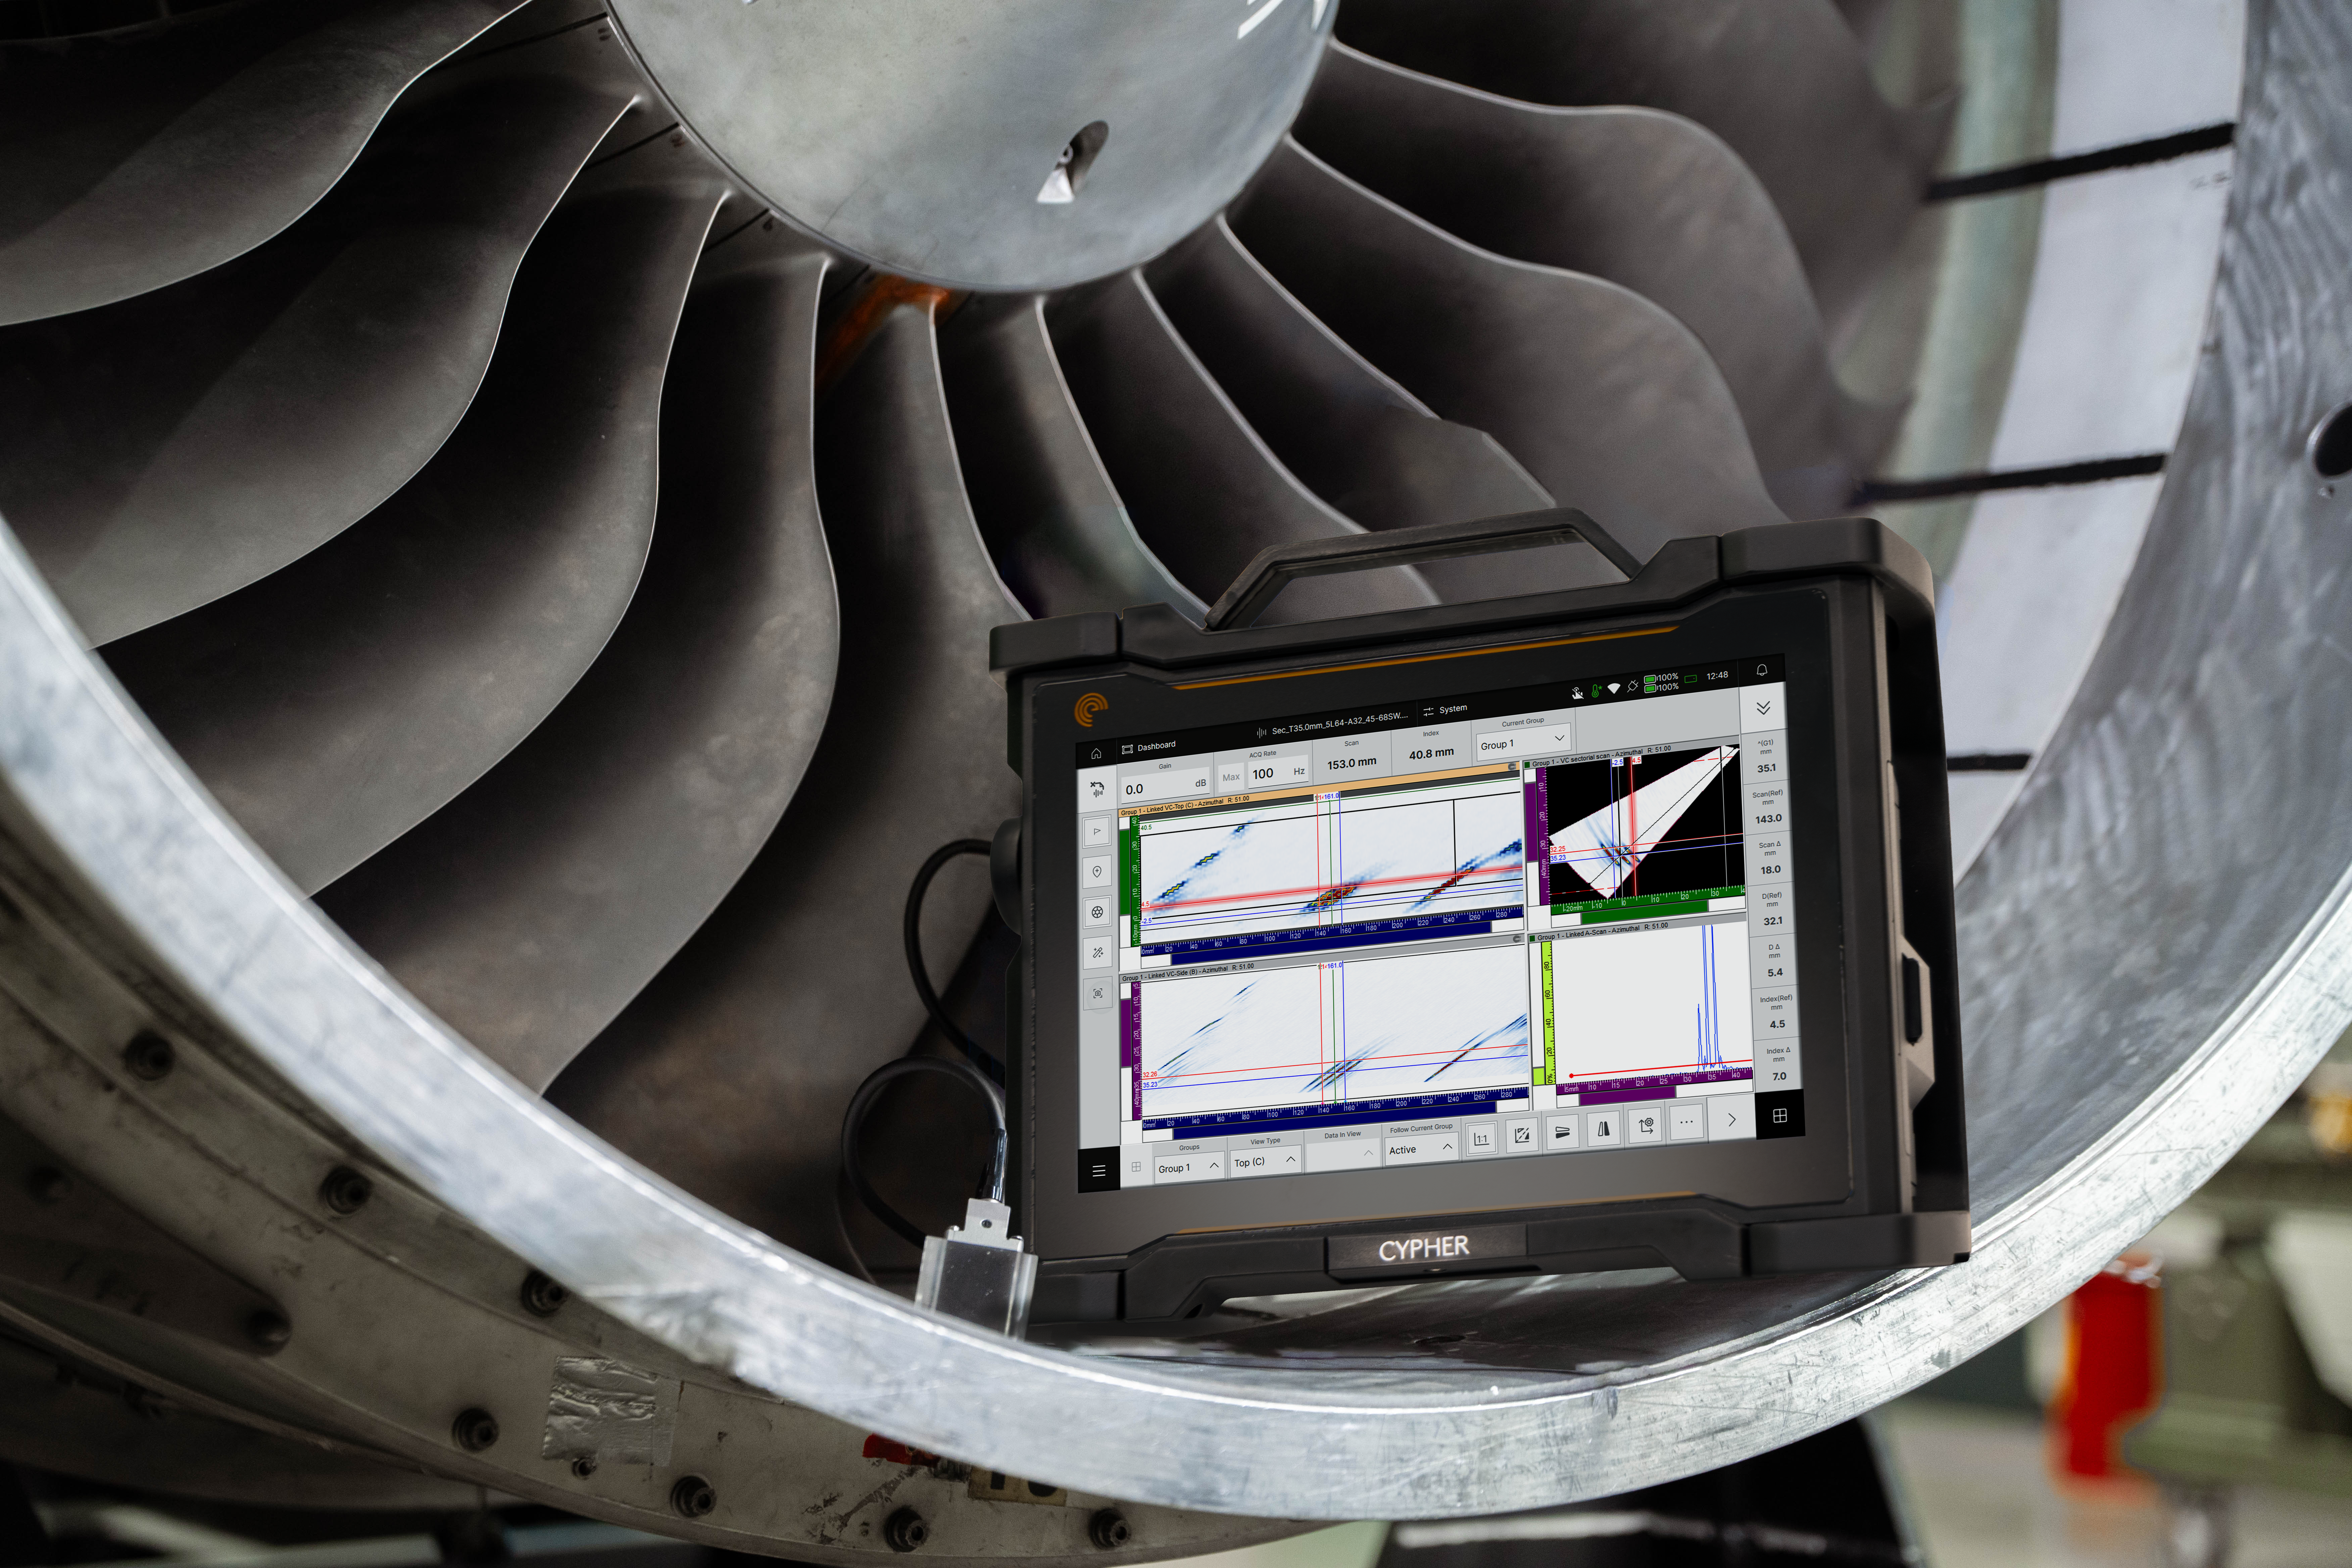
Figure 4:
PAUT inspection with Cypher in aerospace turbine applications
Benefits
By combining Plane Wave Imaging with TOFD, inspectors gain a faster, safer, and more precise alternative to radiography—delivering fully digital, high-resolution, and quantitative results without the safety risks or operational constraints of ionizing radiation.
Plane Wave Imaging combined with TOFD represents a next-generation ultrasonic inspection solution that surpasses radiography in safety, speed, and diagnostic capability. It delivers quantitative, high-resolution, and traceable results without the logistical and health constraints of ionizing radiation. As a result, PWI + TOFD is rapidly becoming the preferred method for weld integrity assessments, structural inspections, and in-service evaluations in industries such as oil & gas, power generation, and aerospace.
Ready to elevate your weld inspection capabilities? Contact our experts or request a live demonstration of Plane Wave Imaging with Cypher® today.
| Aspect | PWI + TOFD | Radiography |
|---|---|---|
| Detection capability | Detects and characterizes both planar (cracks, lack of fusion) and volumetric defects | Excellent for volumetric defects, poor for planar or tight cracks perpendicular to the X-Rays |
| Sizing accuracy | TOFD provides accurate depth and height sizing (±0.5 millimeters (mm) typical) | Limited quantitative sizing; mostly qualitative (image-based) |
| Inspection speed | Very fast due to PWI + TOFD parallel acquisition; suitable for automation | Slow; requires film exposure, development, and interpretation |
| Safety | No ionizing radiation; safe for personnel and can be performed on-site | Involves X-ray or gamma sources; requires exclusion zones and safety controls |
| Data recording | Fully digital, allowing traceable data storage and advanced analysis | Film or digital radiographs; limited defect characterization recording post-inspection |
| Environmental constraints | Can be used in harsh or confined environments | Restricted by radiation safety and access limitations |


