Non-destructive testing (NDT) of welds has been an integral part of quality assurance programs for several decades. During the construction of pipe, vessels, and other industrial infrastructure, welds have often been part of the primary focus to determine the overall integrity before entering service. This focus does not reduce during the asset lifespan, and the welds are often inspected during periodic integrity campaigns to ensure the overall fitness for in-service components.
Details
During construction and within service, the welds must be tested using a volumetric method of NDT to ensure that impurities and defects are detected throughout the full body of the welded joint.
The most widely recognized volumetric NDT methods are radiography and Ultrasonic Testing (UT). Until modern technology developments, radiography was preferred in many circumstances as data is fully recorded, length sizing is regarded as more accurate, and general interpretation of results is universally acknowledged.
However, the tide is turning in the field of NDT, and inspection codes have started to accept alternatives to radiography and, in some circumstances, recommend UT as a preferred alternative.
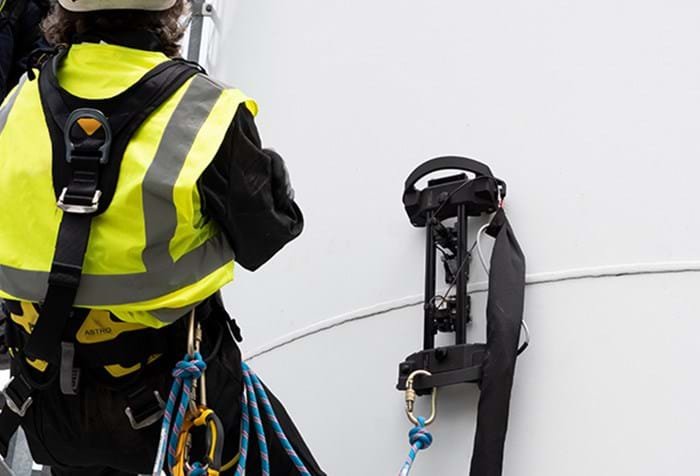
Phased Array UT (PAUT) and Time of Flight Diffraction (TOFD) has quickly become a go-to technology for both fabrication welding and in-service inspection. In addition, and in very recent times, Full Matrix Capture (FMC), Total Focusing Method (TFM), Plane Wave Imaging (PWI), and assisted defect analysis has taken advanced UT to another level.
Typical defects identified:
- Lack of fusion
- Porosity
- Cracking
- Slag and other inclusions
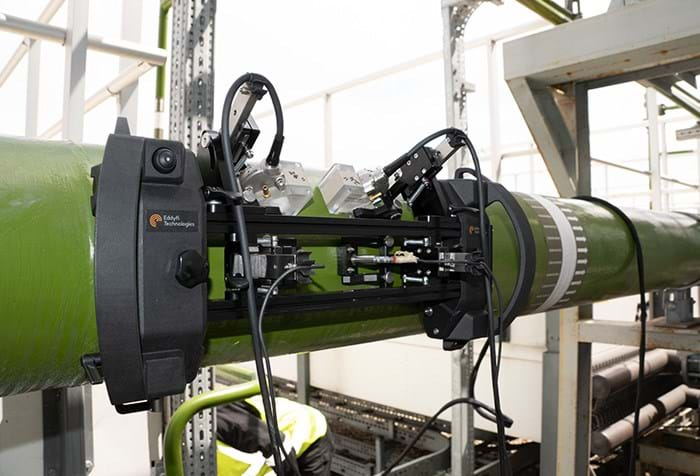
Ultrasonics vs Radiography Benefits
- Reduced exposure to ionizing radiation
- Increased productivity (inspection time per weld)
- No requirement for radiography windows
- Improved repair rates (better sizing for clear decisions)
- Engineering critical assessment (ECA) and workmanship sentencing
- Welds from 100mm (4in) in diameter up to flat plate
- Wall thicknesses from 4mm (0.15in)
Eddyfi Solution
Eddyfi Technologies offer advanced UT solution packages that can be customized to meet customer requirements and applications.
- Multi-group as a standard
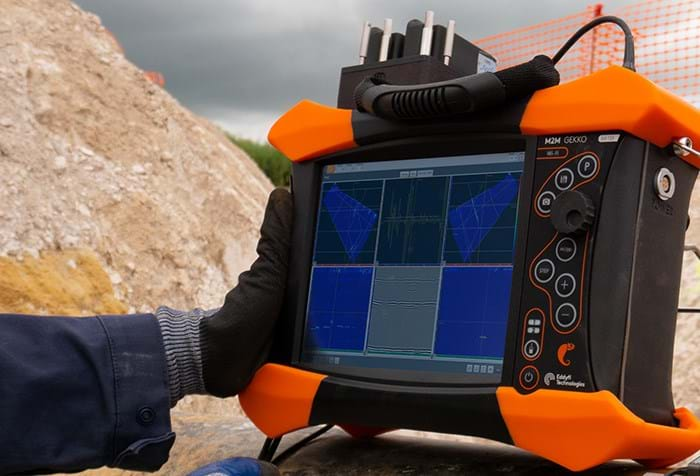
- Combining PAUT/TOFD for code compliant assessment
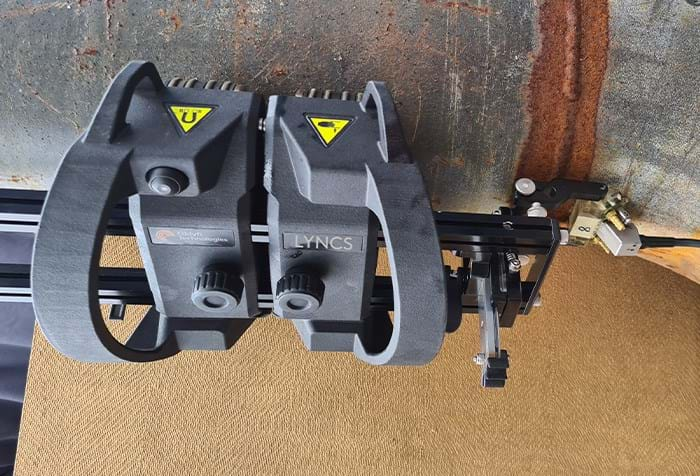
- LYNCS TM dedicated weld inspection with up to 6 probes
- TFM/PWI for high-resolution inspection
- Assisted defect sizing tools
- Modular scanner design for one-sided access
- Industry expertise for consultancy and advice
Fabrication weld inspection
Eddyfi Technologies offers a combination of hardware, software, and scanning equipment to ensure a code compliant inspection solution for construction welding and quality assurance. Most international inspection codes now allow for recordable ultrasonic methods to be used instead of radiography as the primary method of volumetric NDT. Recordable ultrasonic methods show significant benefits as the primary volumetric method. Depending on specifications, weld material, and geometry, the setup for recordable ultrasonic can include:
- PAUT/TOFD independently
- PAUT and TOFD combined
- PAUT and TOFD combined and additional creeping wave
- TFM and PWI
In-service weld inspection
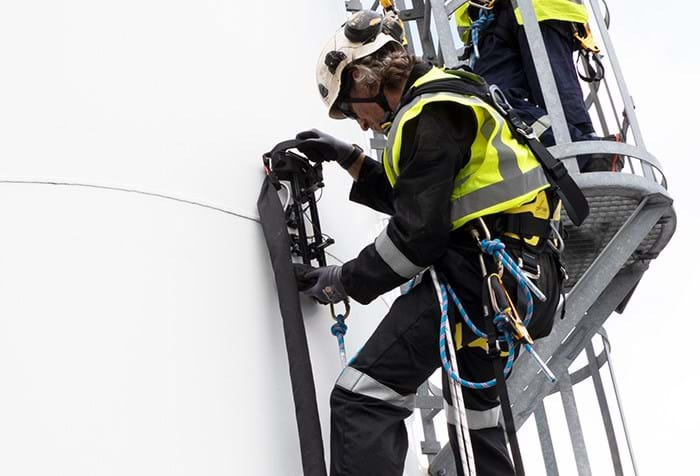
It is mandatory to inspect aging assets to determine if it is safe to maintain operations. The welds are often identified within the risk category as their failure during service can be catastrophic. In-service weld inspection requires a flexible approach. Wall thickness and material details are not always known, and there are often restrictions that are inherent with site conditions. The Eddyfi Technologies solution package provides the necessary flexibility by offering a modular scanner (LYNCS) that can be assembled in many arrangements and has universal tool posts that can be used with PA, TOFD and other UT probes and wedges. In-service weld defects can include but are not limited to:
- Fatigue cracking
- Weld root erosion
- Original welding defects
Software
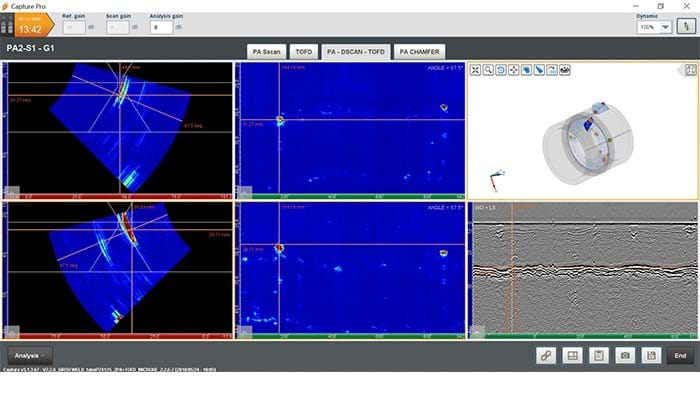
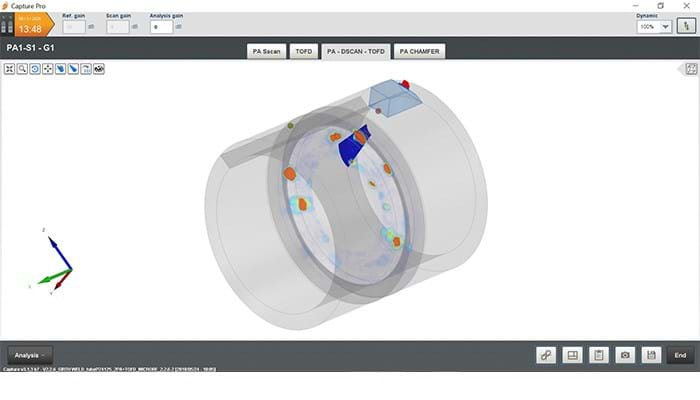
Capture™ is the streamlined software embedded in instruments and also available for PC. It is dedicated to conventional Ultrasonic Testing, Phased Array UT, Time-of-Flight-Diffraction, Total Focusing Method and Adaptive Total Focusing Method (ATFM) while continuously updated based on industry feedback.
- Intuitive and efficient workflow.
- Code-compliant TFM at industrial scan speed.
- Dedicated solutions for complex geometries.
- One software covers all your PAUT/TOFD inspections.
- Advanced analysis simplified.
- Continuous innovation driven by market applications.
Conclusion
Advancements in portable phased array and TOFD systems are increasing the accessibility for NDT suppliers to offer an alternative solution for weld inspection. With adherence to inspection code criteria, maximum flexibility, and intuitive software packages, the Eddyfi Technologies weld inspection solution is the industry leader by far. Numerous packages can be customized to balance commercial expectations and inspection requirements.
Advantages of PAUT and TOFD
- Reduced exposure to ionizing radiation
- Increased productivity
- No requirement for radiography windows
- Improved defect sizing and positioning
- Instant feedback for quicker decisions
- Wall thicknesses from 4mm (0.15 inch)


