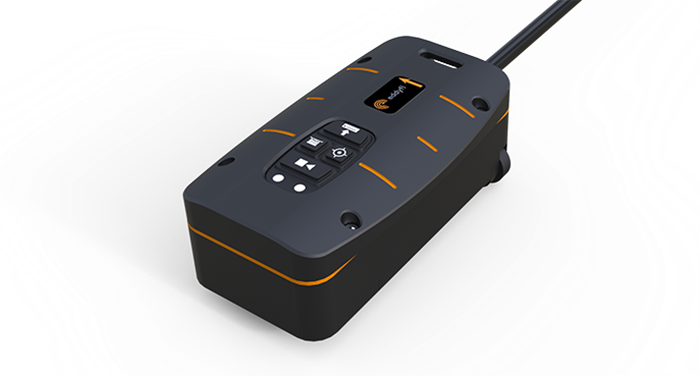
The integrity of pipelines relies on the integrity of its inspection equipment. Eddyfi Technologies’ proven solutions offer accurate, reliable, and repeatable data in real-time. In-service pipeline inspection promotes time and cost efficiencies, ensures environment and human safety, and endorses long-term reliable performance of pipe infrastructure.
Important facts
Pipelines are used around the world to transport gas and oil every day and are without a doubt the safest way to transport such commodities. Prone to damage by cracking and potential design flaws, pipelines require regular inspection to help ensure structural integrity and regulatory compliance as well as verify the remaining useful life of infrastructure.
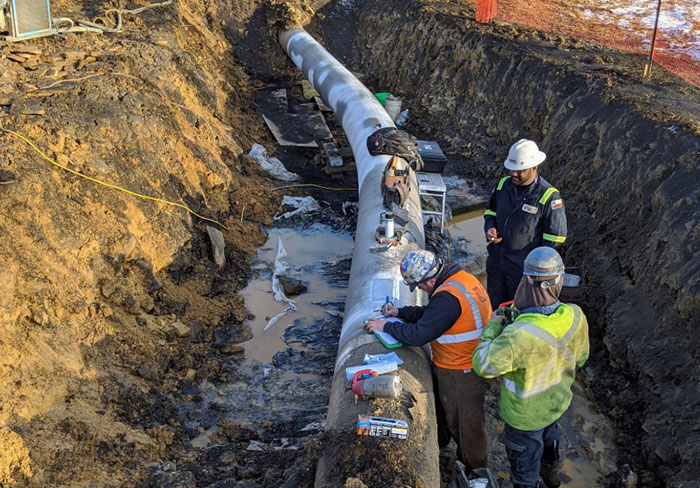
Examining pipelines typically involves an inline inspection (ILI) using smart pigs or remotely operated robotic crawlers to locate areas of concern so that further assessment can be performed using Non-Destructive Testing (NDT) tools on the excavated pipeline (where previously buried). Eddyfi Technologies’ multi-technology solutions assist with improving practical planning, reducing operational and safety risks, and increasing profitability for pipeline owners internationally.
Typical Pipeline Integrity Threats
Details
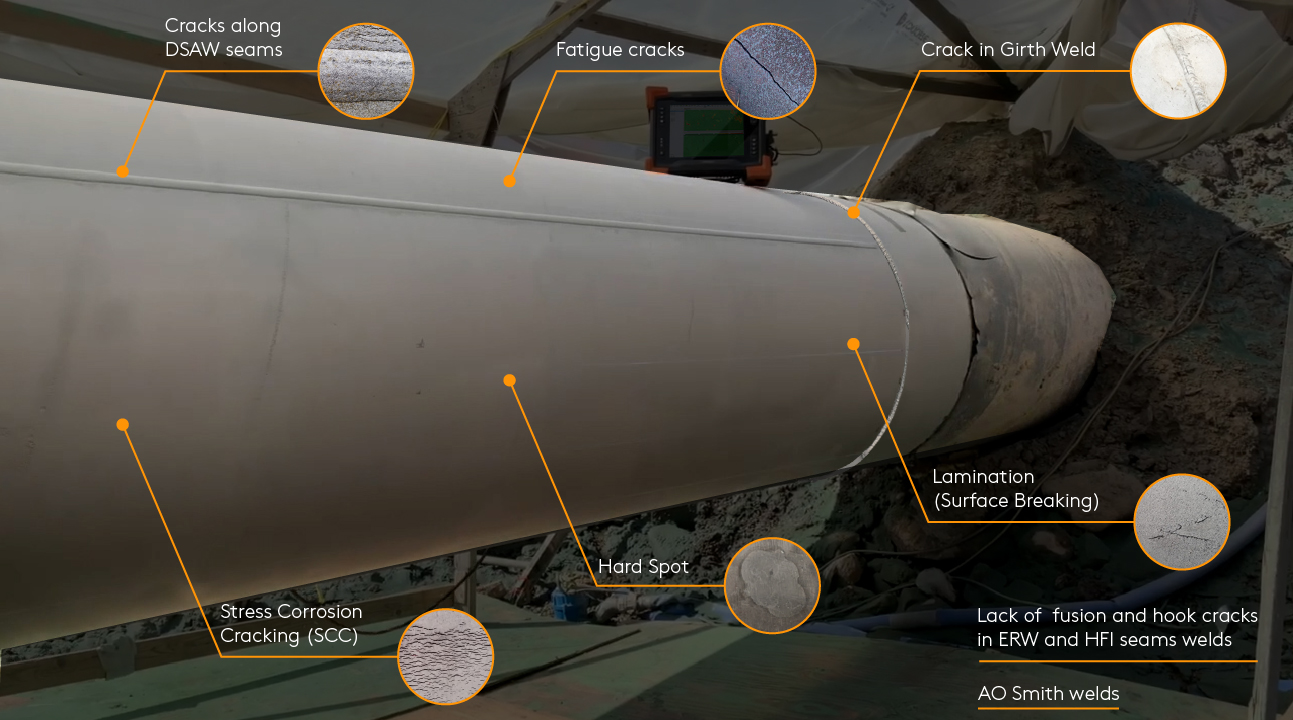
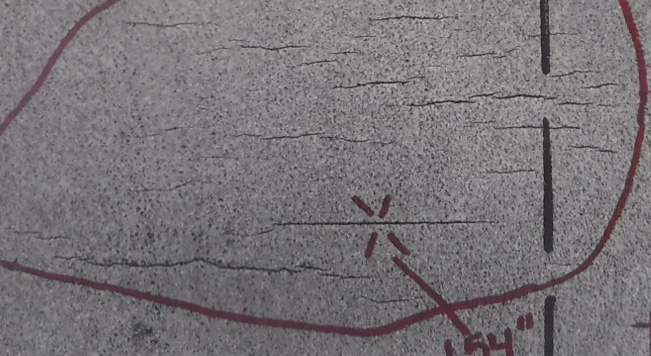
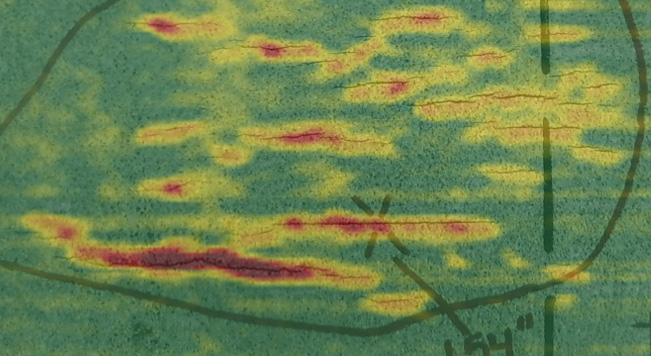
Stress Corrosion Cracking (SCC) is a process that results in cracking from the combination of three factors: tensile stress, a corrosive environment, and a susceptible material. Therefore, it commonly occurs on buried carbon steel pipelines where the surface is not properly protected from the soil (poor coating or/and bad cathodic protection). Pipelines are susceptible to bursting from SCC without any prior wall thinning, highlighting the importance of early detection. SCC is a particularly elusive and challenging problem starting with individual cracks that increase rapidly in depth and length over time which can ultimately link together and seriously threaten pipeline integrity.
 MPI
MPI
 Sharck HR Data
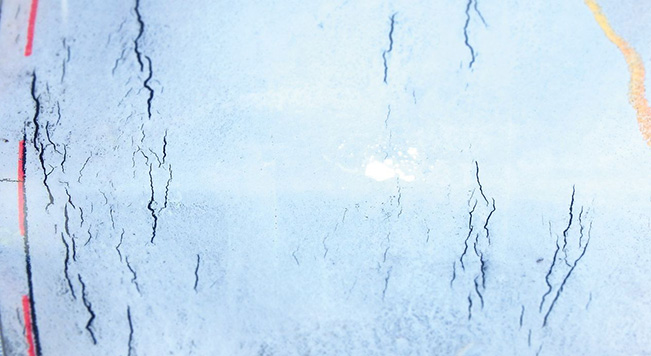
Circumferential Stress Corrosion Cracking (CSCC) has been observed in Canada, America, and some European countries. It occurs under certain environmental conditions, i.e., when the axial stress on a pipe at the crack location is greater than the hoop stress. Evidence suggests that there are three probable sources of additional axial stresses that can promote CSCC: residual stresses in a bent pipe, axial stresses caused by the movement of unstable soil on slopes, and residual stresses opposite rock dents.
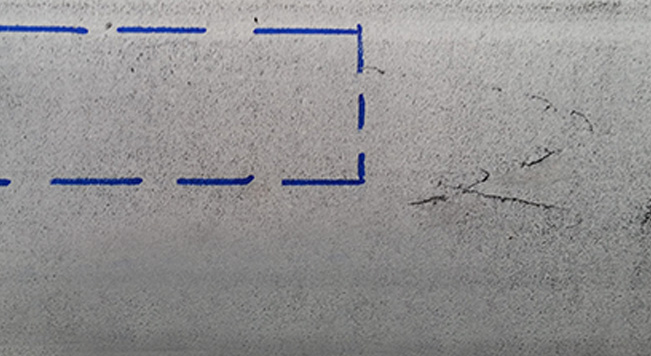
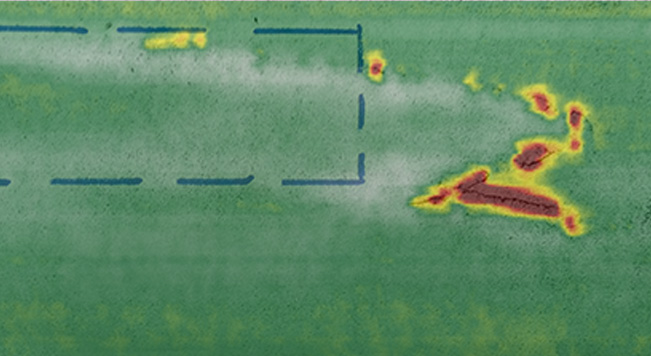
Lamination is a common defect created during the manufacturing process consisting of an internal metal separation generally parallel to the pipe surface. Slivers and scabs are pieces of metal that have been rolled into the surface; scabs are usually due to casting defects while slivers are introduced during rolling. Inclusions are foreign or non-metallic particles trapped during steel solidification. The existence of lamination defects can lead to a decrease in the effective thickness of pipe, reducing its mechanical properties and shortening its service life.
 MPI
MPI
 Sharck HR Data
Fatigue cracking is one of the main damage mechanisms of industrial assets including oil and gas pipelines. They are subject to intense cyclic loads which induces existing cracks in pipelines to initiate and propagate, resulting in fatigue crack growth and ultimately serious risk to pipeline integrity. Pipes with longitudinal fatigue cracks are particularly of utmost importance since these cracks are associated with bursting. Because the only indication of an imminent fracture is a hard-to-see crack, fatigue damage is particularly threatening.
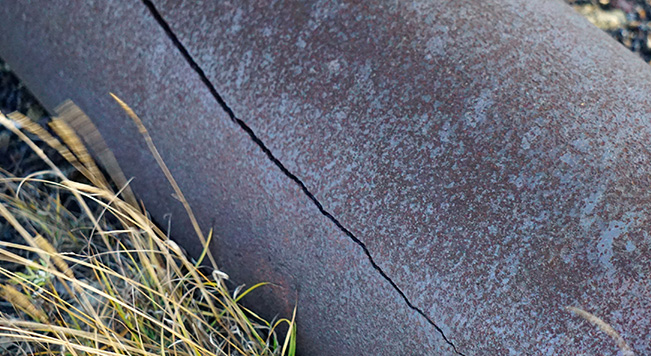
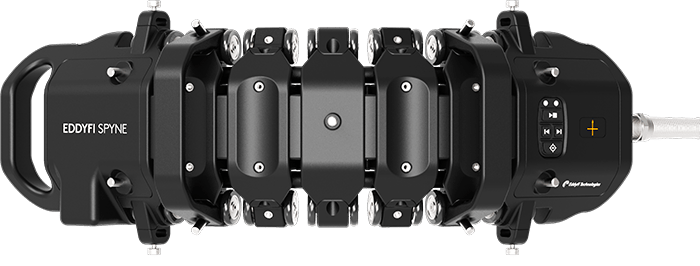
A two-step approach is deployed for direct assessment of SCC: detection and depth sizing. Eddyfi Spyne is utilized for a first screening, offering an impressive speed and greater control over the human factor. It provides a much higher Probability of Detection (PoD) than MPI at crack detection and literally transforms the work of technicians in ditches. Once cracks are all detected and located, the Eddyfi Sharck HR takes over for depth sizing. Within a few minutes, the deepest cracks among colonies can be accurately sized so that instant decisions can be made. Its ease of use and high repeatability also contribute to reducing operator dependent results.
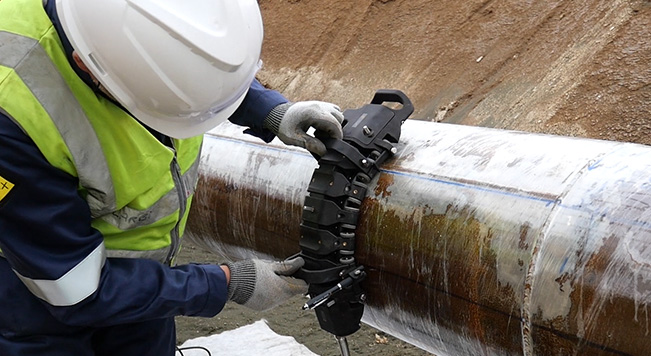
In a single pass, the Spyne can detect cracks in all orientations. As with axial SCC, the Spyne offers the same Probability of Detection (PoD), speed, coverage, and sensitivity, i.e., capability of detecting single isolated cracks as small as 2mm (0.08in) in length. Once CSCC has been detected, the Sharck HR probe is utilized for depth sizing. For accurate sizing, the Sharck HR must be pushed in the same orientation as the crack, in this case, circumferentially. The Sharck can inspect pipes from 150mm (6in) OD up to flat surfaces.
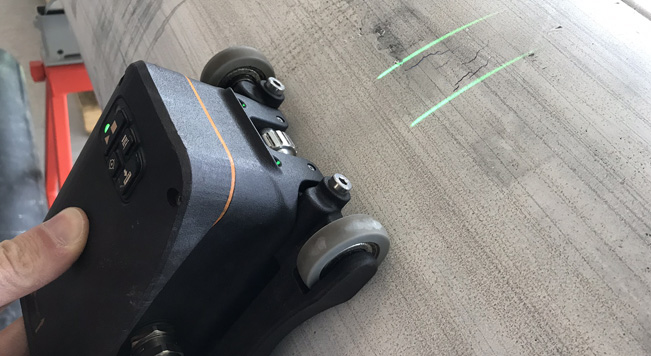
The Spyne detects laminations and slivers when they start to break the surface of the pipe. Sometimes the precise profile of the material being rolled on the pipe during manufacturing clearly shows up on the C-Scan. When this profile is not visible, we recommend that the area of interest be scanned with the Sharck HR. Laminations produce abnormally strong Eddy Current (EC) signals, even for very short indications. We also recommend a visual validation to avoid confusion between cracks and laminations.
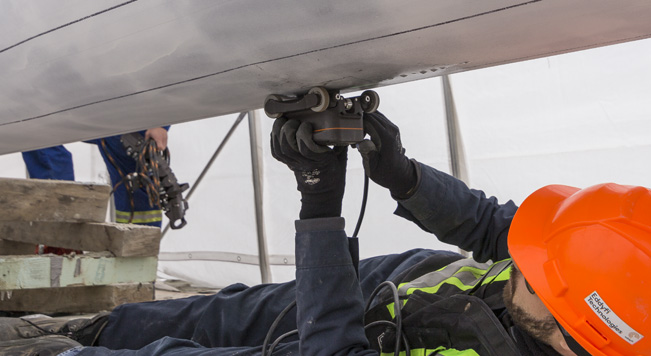
During the first screening with the Spyne tool, all surface-breaking indications are detected. SCC is easy to identify because cracks appear in clusters. Despite fatigue cracks generally being isolated and potentially not as deep, they are no exception to the rule. PoD remains high as the Spyne can detect isolated indications as small as 2mm (0.08in) long by 0.5mm (0.02in) deep for all orientations. Once located, the Sharck HR can accurately size the crack. For fatigue cracks found at Double Submerged Arc Welded (DSAW) toes, we recommend either the Sharck HR array or pencil probe.
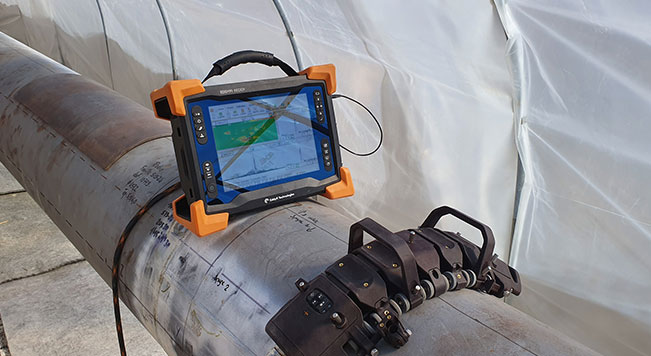
Dirt, grease, scale, or oxide film on the skelp, momentary reduction or loss of current, insufficient heat and pressure during welding processes are all potential causes leading to Lack of Fusion (LoF) in ERW and HFI welds. LoF, or incomplete fusion, occurs where the weld metal and base metal are inadequately combined and appears at the midpoint of the weld bond line. The gap in the joint weakens the weld, a situation that has led to several pipeline failures over the years.
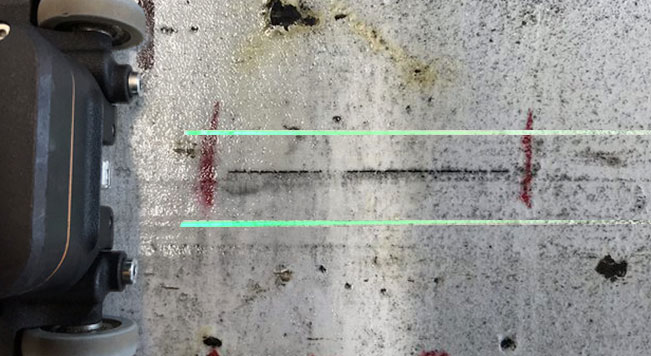 MPI
MPI
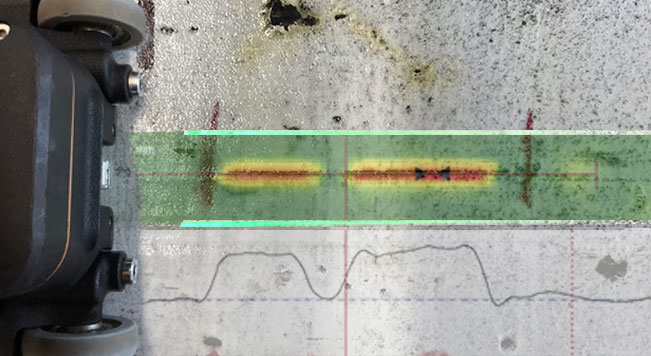 Shark HR
Double Submerged Arc Welded (DSAW) pipelines are used for a variety of applications. The welding process protects the steel from contamination of impurities in the air, but this does not stop defects from occurring. The process involves forming V-shaped grooves on the interior and exterior surfaces at the seam. The pipe seam is then joined in a single pass with an arc welded on the interior and exterior surfaces. Some common defects include insufficient penetration, melt through, porosity, weld toe cracking, and SCC.
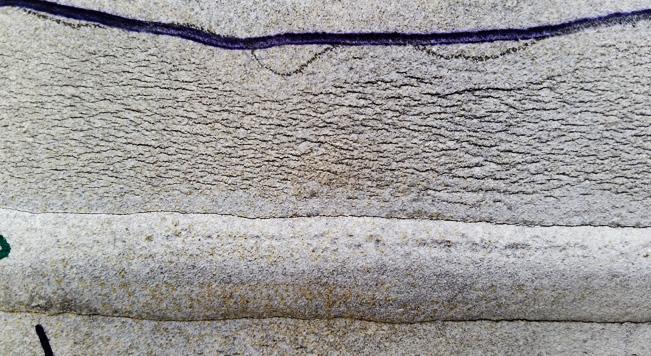
A.O. Smith pipelines found in USA feature seam welds via Flash Welding (FW) or Low-Frequency Electric Resistance Welding (LF-ERW). Both FW and LF-ERW vintage seam welds have known susceptibility concerns including cold welds, lack of fusion, hook cracks, and Selective Seam Corrosion (SSC). The flash welding process produces a squared cap profile which can be more challenging to inspect.
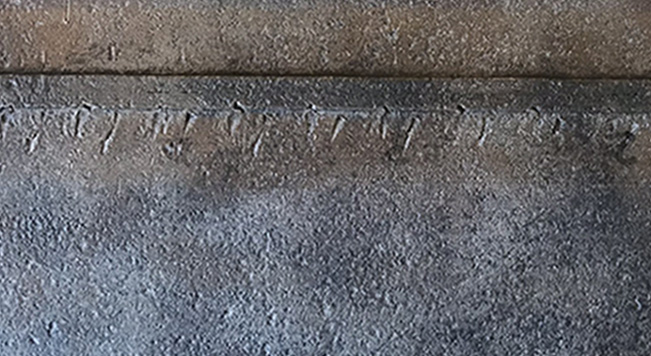
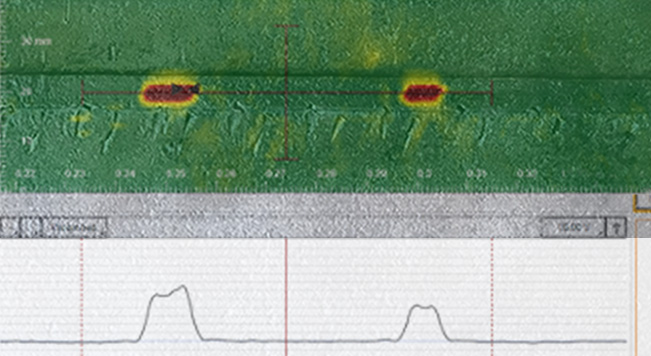
Girth welds refer to the welding process for connecting two pipes along their circumference. Common failures include cold cracking, hydrogen-induced cold cracking, and hydrogen cracking. The factors leading to cold cracking are hydrogen generated by the welding process, a hard and brittle structure susceptible to cracking, and tensile stresses acting on the welded joint. Hot cracking, also known as centerline cracking or hot tearing, occurs when the liquid weld metal is insufficient in filling the spaces between solidifying weld metal. The girth weld is therefore opened with shrinkage strains.
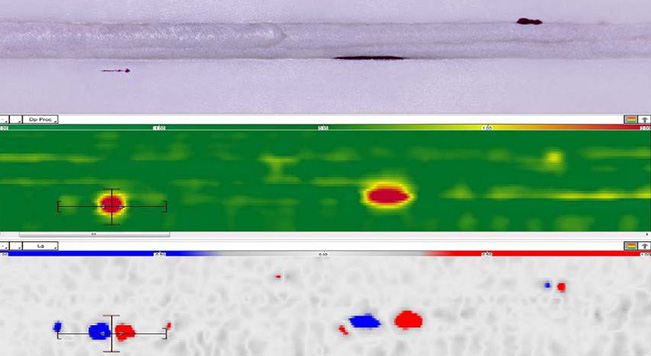
ERW and HFI seams represent the easiest types of welds to inspect because they are almost flush to the parent material. With the Spyne, no precaution is required during the screening process. LoF, hook, and fatigue cracks are all easily detected along ERW welds. The minimum target remains 2mm (0.08in) in length if it breaks the external surface. Sometimes ERW welds may appear on C-Scans. This greatly depends on the change of material properties as a result of heat treatment from the welding process during manufacturing. For this type of flaw, the Sharck HR is by far the best tool available in the NDT industry for depth sizing.
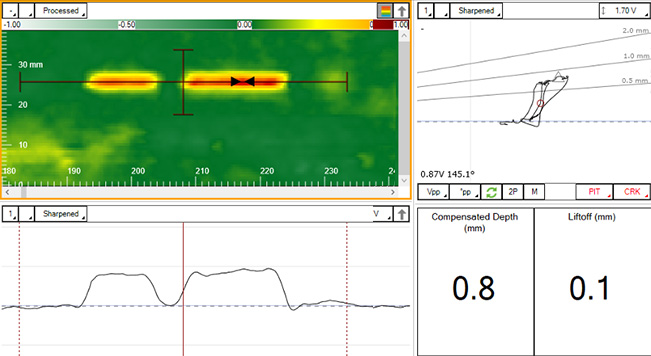
Given the smooth geometry of DSAW seams, Spyne is ideal for detecting SCC on either side of the weld up to the weld toes. The Eddy Current Array (ECA) probe mounted on the Spyne is flexible enough to provide good conformity, reducing lift off during scans while still providing a high PoD. Once cracks are detected, the Sharck HR must be used to size the depth of the deepest cracks among colonies. With up to 60 spring-loaded elements, it provides a 75mm (3in) coverage and a perfect fit to the weld geometry. For shallow fatigue cracks at toes, a Sharck HR pencil can also be used.
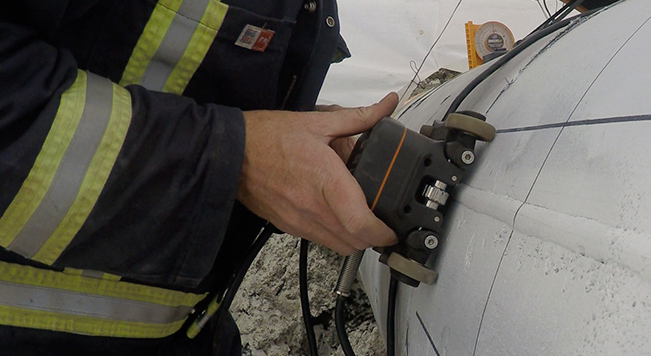
Sharck HR is ideal for detection and characterization of any defects in the square cap profile. Each element/sensor of the probe is encapsulated inside individual spring-loaded ceramic fingers which mold over the weld profile. The cap plus up to 35mm (1.38in) —depending on the probe coverage— of either side of the weld is inspected in a single pass. Cold welds, LoF, and stitching appearing as linear indications along the weld centerlines can be detected and sized. Fatigue cracks at cap “toes” can also be assessed with the same probe or with a Sharck HR pencil.
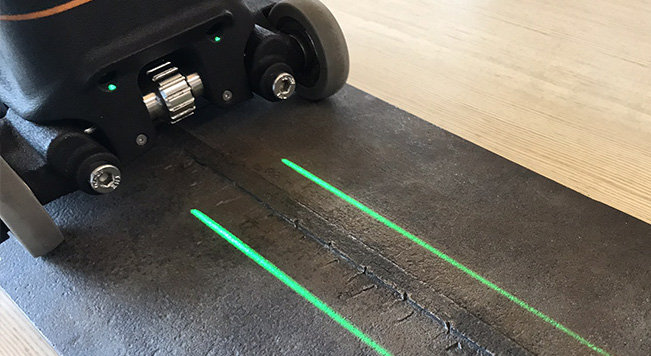
A girth weld’s quality, height, and roughness vary a lot from one pipe joint to the next. To adequately address significant geometry changes while still providing detection of cracks in all orientations, we recommend the Sharck Butt Weld probe. This probe uses larger coils which increases the capability to deal with lift-off and offers deeper penetration (depth sizing down to 7mm or 0.28in). With a 53mm (2.09in) coverage, its spring-loaded elements cover the Heat Affected Zone (HAZ), toes, and weld cap in a single pass.
Hard spot
Hard spots, also known as localized hardening, can occur by accidental non-uniform quenching during the manufacturing process. The hardening changes the metallurgical structure of the steel pipe, creating a very hard formation of steel. Hard spots are not necessarily a threat to the integrity of the pipeline but when put under stress can lead to Hydrogen Stress Cracking (HSC) resulting in a significant pipe rupture.
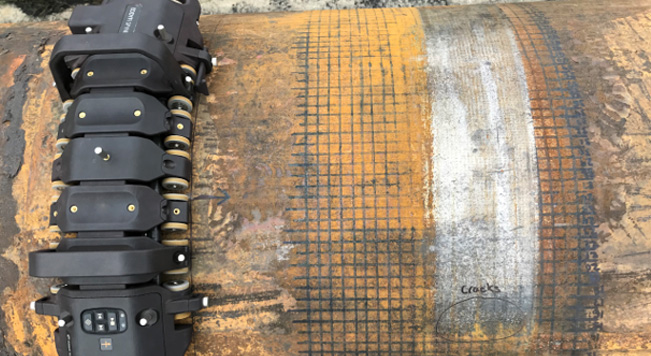
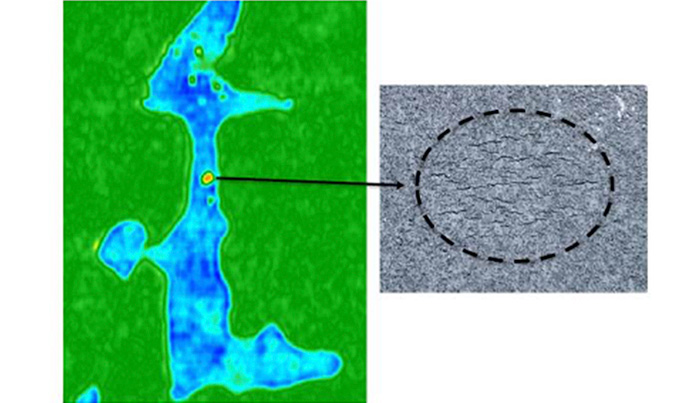
The changes that occur in steel microstructures lead to significant property changes in a pipeline wall. Magnetic property changes usually create headaches with ECA as it increases noise level and thus strongly affects flaw detection. In this particular situation, such high sensitivity for property changes is a huge advantage for the Spyne as it makes this tool perfect for hard spot detection on pipelines. Much more efficient than Nital Etching, it provides a 360-degree map of hard spots along a pipe joint within a few minutes. In the picture below, a small SCC colony is detected inside a hard spot.
Benefits
Eddy Current Array Probes
Eddyfi Spyne
- Scan speed up to 600 mm/s (24 in/s)
- Coverage: 200 mm (8 in) in a single pass
- Infinite adjustments, from 150 mm (6 in) OD pipes to flat surfaces
- Grid-As-U-Go™ for quick and easy gridding
- Embedded and detachable spring-loaded encoder
- Use on high-temperature surfaces (up to 150ºC/302ºF)
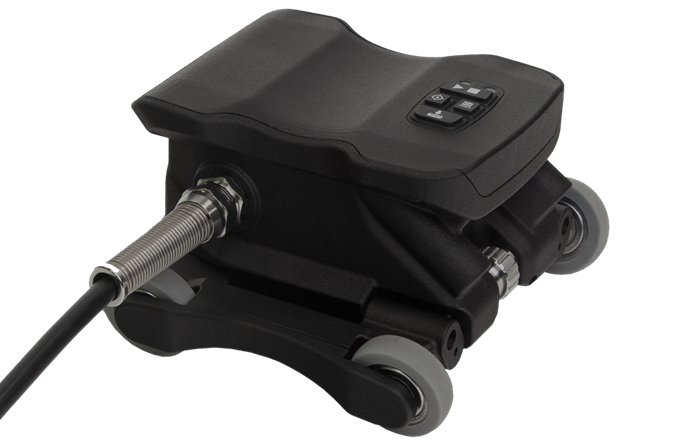
Sharck HR
- Scan speed up to 600 mm/s (24 in/s)
- Coverage: 37 mm (1.45 in) and 75 mm (2.95 in)
- Min detectable cracks: Length: 1.5 mm (0.060 in) x Depth: 0.25 mm (0.010 in)
- Max. measurable depth: 3 mm (0.12 in)
- Depth sizing accuracy: +/- 10-15%
- Dynamic lift-off compensation up to 1 mm (0.040 in)
- Permeability compensation (X42 to X70)
Sharck Butt Weld
- Scan speed up to 200 mm/s (8 in/s)
- Coverage: 53 mm (2 in)
- Min detectable cracks: Length: 3 mm (0.120 in) x Depth: 0.5 mm (0.020 in) deep
- Max. measurable depth: 7 mm (0.275 in)
- Depth sizing accuracy: +/- 10–20%
- Dynamic lift-off compensation up to 3 mm (0.120 in)
