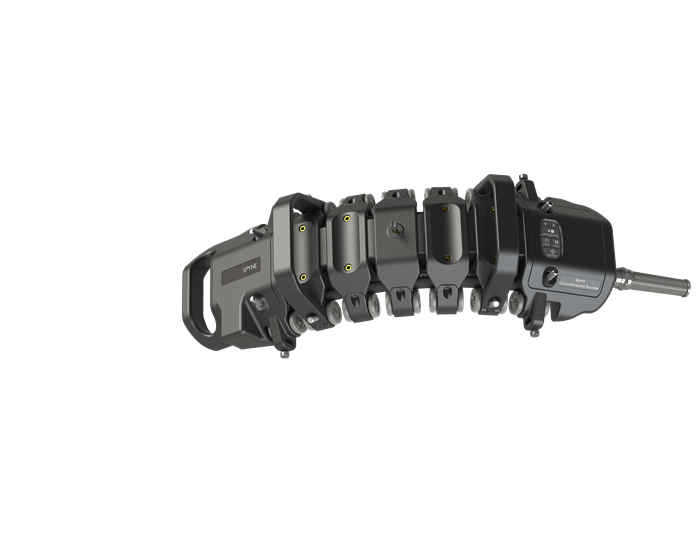
Spyne™, an adaptable surface Eddy Current Array (ECA) screening tool with circumferential encoding, is specifically engineered to maximize productivity for the detection of Stress Corrosion Cracking (SCC), cracks, subsurface defects, and pitting in various critical components such as high-pressure gas pipes, vessels, tanks, pipelines and more. With a higher Probability of Detection (PoD) than Magnetic Particle Inspection (MPI or MT)/ Penetrant Testing (PT) and with ultrafast capabilities, it paves the way to unprecedented efficiency.
Details
Eddyfi Technologies’ Spyne is a revolutionary screening tool for surface-breaking cracks on pipelines. Much faster and reliable than traditional MPI, it can accommodate a range of flexible probes designed to suit ferritic and non-ferritic alloys and be configured to inspect external diameters from 150mm (6in) to flat surfaces. It can detect individual cracks as small as 2mm (0.080in) long and 1mm (0.040in) deep, and colonies of cracks of virtually any depth and length.
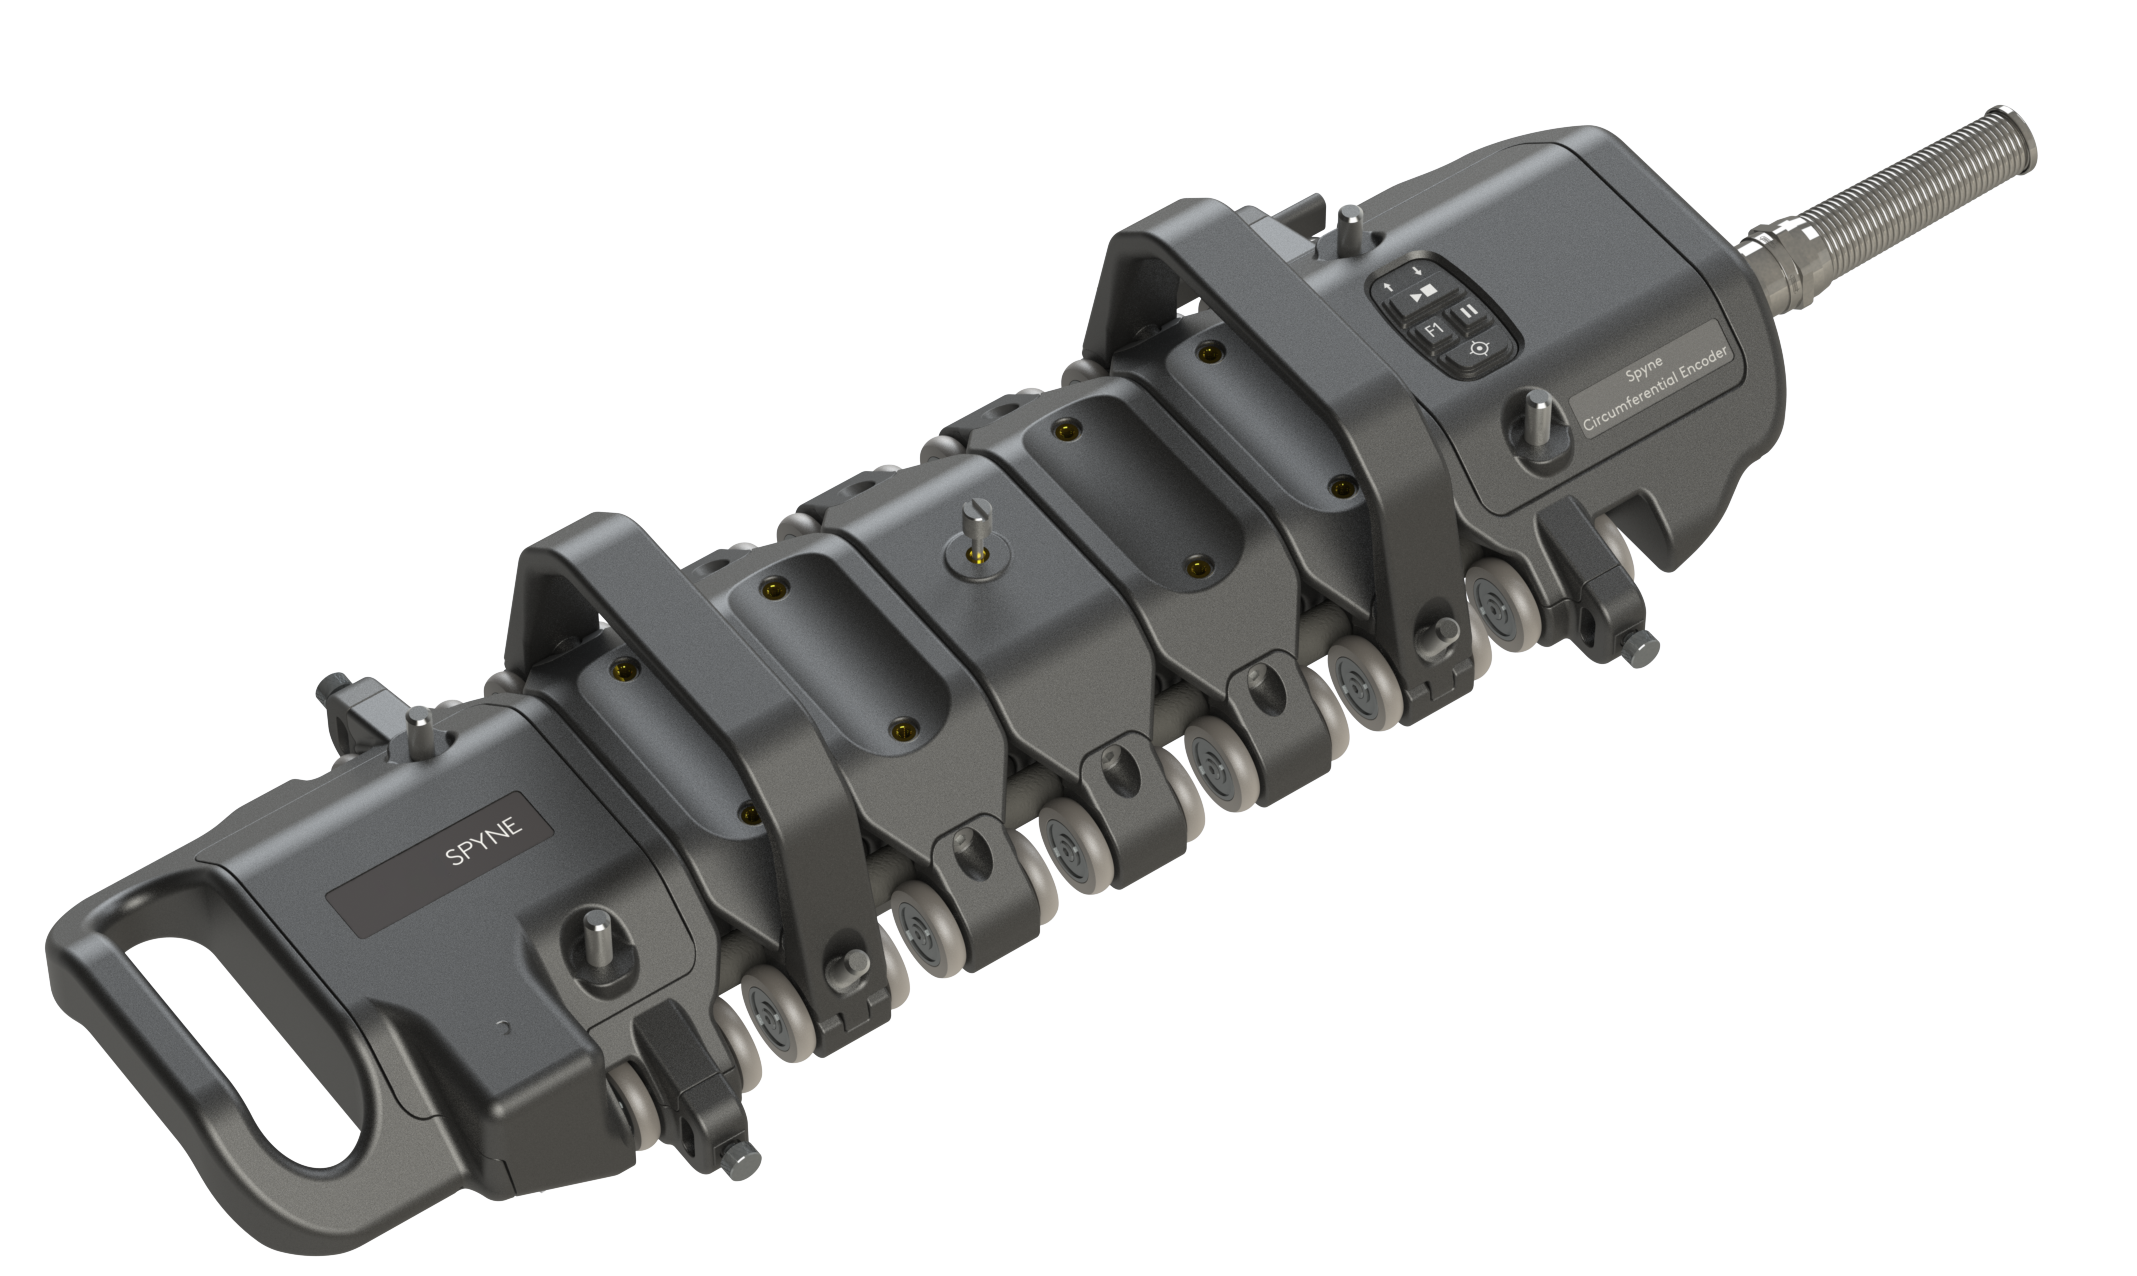
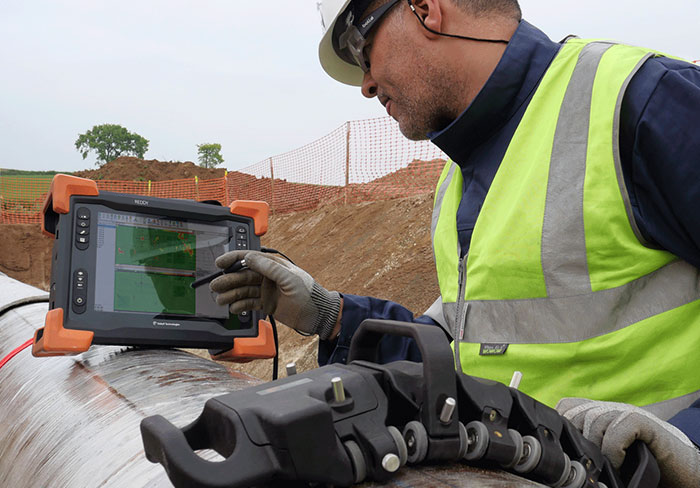
Spyne is encoded both axially and circumferentially and has a coverage of 200mm (8in), maximum scan speed of 600 mm (48in) per second, and optional magnetic wheels to facilitate scanning the sides and bottom of the pipe. Its raster scan capability allows inspection of 100% of the pipe's external surface recorded in a single data file.
Read more on how Spyne can be used for pipeline integrity.
Performance Benefits
- Scan speed up to 600 mm/s (48in/s)
- 200 mm (8 in) coverage in a single pass
- Infinite adjustments, from 150 mm (6 in) OD pipes to flat surfaces
- Repeatable and reliable results
- Minimal surface preparation required; no need to remove the coating
- Pre-calibrated. Only cal-check required.
- Assisted detection and on-the-spot screening report with Magnifi® software
- Combined with SIMS PRO ECA for accurate mapping and standardized reporting
Features
- Gyroscopic circumferential encoding
- Full raster scan and comb scan capability
- Embedded and detachable spring-loaded encoder
- Ergonomic handles with acquisition control buttons
- Spring-loaded, interchangeable flexible ECA probe
- Compatible with Reddy® or Ectane® (128 channels)
- Use on high-temperature surfaces (up to 150ºC/302ºF)
- Faster, less operator-dependent than PT/MT
- Compatible with a wide variety of flexible-PCB probes, coils, and topologies
Reddy or Ectane3 (128 Channels)
150 mm (6 in) OD to flat surfaces
Up to 600 mm/s (48 in/s)
128
Up to 3 mm (0.12 in)
Non-conductive coatings and paints, with monitoring and auto-correction
Up to 150ºC (302ºF)
5 m (16.4 ft), 10 m (32.8 ft) or 15 m (49 ft)
PCB probe suitable for ferrous materials:
- Stress Corrosion Cracking (SCC)
- Hydrogen Induced Cracking (HIC)
- Fatigue cracks
- ERW welds (LOF, hook and fatigue cracks)
- A.O Smith flash welds (LOF, cold weld, stitching)
- Hard spots
- Manufacturing flaws (e.g. mill scabs)
- Surface cracks
- Subsurface cracks
ECA-SPYNE-C-202-250-086
126 (85 Axial, 41 Transverse)
Up to 202 mm (8 in)
Long single driver
4.5 mm (0.18 in)
Crack: 2 mm (0.080 in) L × 0.5 mm (0.020 in) Dia
250 kHz
50-500 kHz
PCB probe suitable for non-ferrous alloys:
- Stress Corrosion Cracking (SCC)
- Chloride SCC
- Hydrogen Induced Cracking (HIC)
- Fatigue cracks
- Corrosion pits
- Surface cracks
- Subsurface cracks
ECA-SPYNE-D-200-250-066
128 (64 Axial, 64 Transverse)
Up to 200 mm (7.9 in)
Short double driver
6 mm (0.24 in)
Crack: 2 mm (0.080 in) L × 0.5 mm (0.020 in) D
Pit: 0.5 mm (0.020 in) L × 0.5 mm (0.020 in) D
250 kHz
50-500 kHz
Spyne
Ferrous Applications
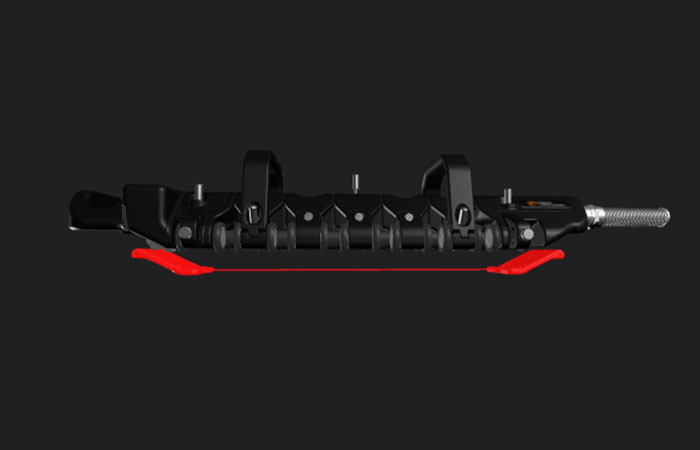
Swappable PCB Eddy Current Array Ribbon suitable for ferrous materials
Non-ferrous Applications
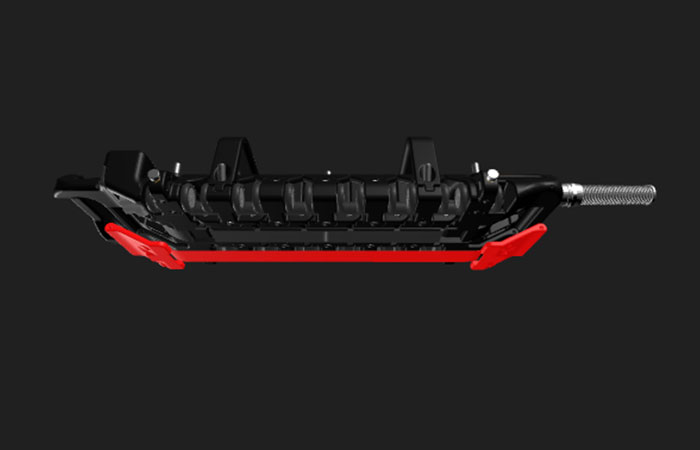
Swappable PCB Eddy Current Array Ribbon suitable for non-ferrous materials
Ultrafast—Leave No Crack Behind
Spyne is capable of single-pass coverage of 200mm (8in) at scan speeds up to 600 mm/s (48 in/s). It is also encoded both axially with a spring-loaded wheel, and circumferentially with a gyroscopic device that tracks the position of Spyne around the pipeline. Combined with full raster scan capability, this dual encoding system not only makes inspection easier than ever, but it also allows precise positioning and reporting of all the detected indications into a single data file.
The powerful automated detection capabilities of Magnifi software also make screening and analysis operations significantly faster. Detecting surface indications from C-scan data has never been this simple, improving the overall productivity of inspections. And thanks to the Eddyfi mobile application for adding pictures into the report, and OneDrive integration for automated data backup, building a complete inspection report can be done in a matter of minutes.
Applications
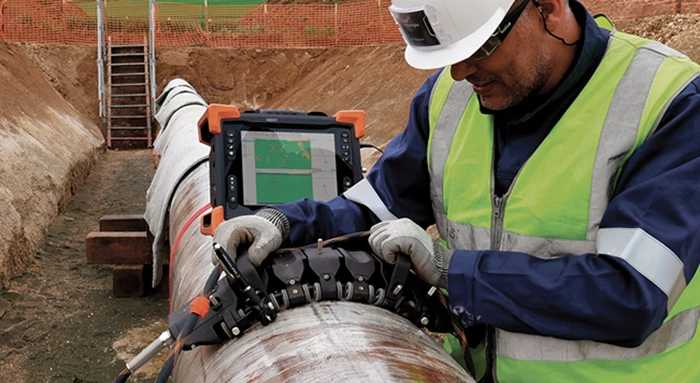
Stress Corrosion Cracking Direct Assessment on Pipelines
Magnetic Particle Inspection (MPI) has been the primary reference for Stress Corrosion Cracking (SCC) detection in pipeline integrity. Although relatively economical and easy to deploy, MPI is time-consuming and highly user dependent. Recent field trials have prove that Spyne outclasses MPI in many aspects.
Offering an impressive speed, combined with an exceptionally high Probability of Detection (PoD), Spyne transforms in-ditch inspections and provides greater control over the human factor. In addition to SCC, Spyne detects all linear indications breaking the outer surface of pipelines such as Hydrogen Induced Cracking (HIC), fatigue cracks, Lack of Fusion (LoF) in ERW and A. O Smith FW, hook cracks, etc.
Hard Spots on Pipelines
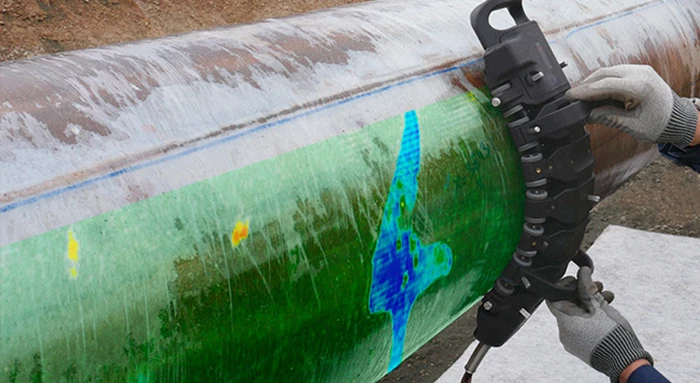
Hard spots result from a deviation from uniform quenching procedures during pipeline build, although a more prevalent manufacturing defect before 1970.
The sustained stress of internal operating pressure combined with the increased brittleness from hard spots found on a pipeline heighten its vulnerability to damage mechanisms, especially cracks, accelerating potential failure.
Changes in steel microstructure lead to significant property changes in the pipeline wall, making Spyne a perfect tool for hard spot detection. It provides a 360-degree map of hard spots and all cracks present along a pipe within minutes. Replacing nital etching and magnetic particles in a single scan demonstrates very well its higher efficiency over current techniques used in the field.
Cracks on High-Temperature Emulsion Pipelines
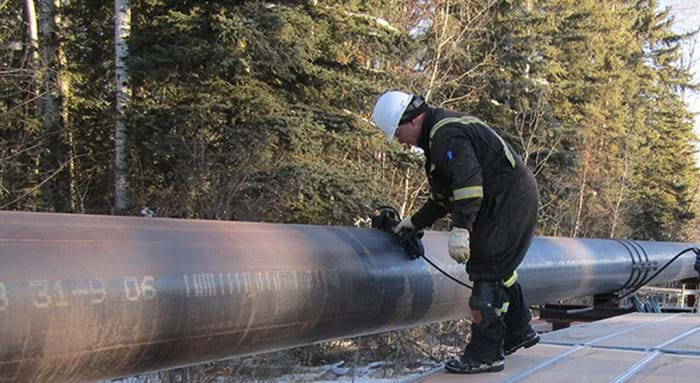
An emulsion pipeline essentially carries a mixture of bitumen, hot water, and steam. This critical asset is subject to intergranular stress corrosion cracking (IGSCC), the leading cause of emulsion pipeline incidents.
Given the length of these emulsion pipelines – multiple kilometers – and their high operating temperature up to 185°C/365°F, inspecting such assets represent a considerable challenge.
Combining high PoD, considerable time savings, and all advantages of going digital, Spyne is now the primary reference for emulsion pipeline inspection.
Early-Stage Detection of Chloride Stress Corrosion Cracking (CSCC) in Stainless Steel Assets
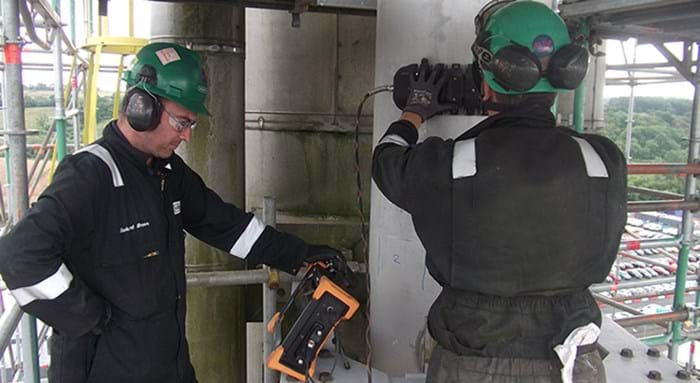
In some environments, Stainless Steel (SS) corrosion resistance is limited, making assets susceptible to external crevices and pitting, initiating points for chloride-induced stress corrosion cracking (CSCC).
Eddy Current Array (ECA) has proven to be a highly effective solution. Combining high resolution and sensitivity, ECA can detect CSCC at its very early stage. The wide coverage contributes to carrying out reliable inspections at high speed, reducing shut down time and overall costs.
Other Applications
The versatile Spyne can be utilized on many surfaces and applications ranging from 150mm (6in) diameter to a flat plate. It is the ideal solution for ultrafast screening of large areas for the detection of surface-breaking flaws.
- Storage tanks
- LNG tank floors
- Pressure vessels
- Stainless steel tanks: food and beverage industry
- Yellow Jacket™ piping
- Corrosion underneath coatings

Spyne Automatic Detection and Reporting
The Spyne scan data is displayed as a 2D C-scan (axial position shown on the horizontal axis, circumferential position on the vertical axis). Each indication is automatically highlighted and marked with a yellow box and label.
Surface-breaking indications include:
- individual cracks
- crack colonies
- linear indications in the seam welds (DSAW, ERW, AO Smith, etc.)
- manufacturing defects such as mill scabs or weld splatters.
All these indications are reported automatically by the software, based on a predefined signal threshold. The default threshold for Spyne is 0.50V, but it can be adjusted to suit the inspection requirements. The operator's detection threshold should always be adjusted based on the minimal size of defects that need to be detected.
In this example, seven such indications were automatically tagged as SCC as they reached the predetermined detection threshold. With one click, these boxed indications are instantly added to the defects table with the size and position associated with each colony.
For more information, please read our blog on automated detection for faster ECA assessments.
Data can be seamlessly imported into SIMS PRO ECA, a software that offers a comprehensive suite of tools designed for Spyne inspections. This high-level analysis and reporting software elevates the outcome of pipeline inspections.
With this software, analysts can effortlessly piece together their inspection data, produce depth sizing reports using complementary techniques, and keep a record of all grind repairs carried out during or after the inspection. Moreover, it enables users to maintain critical traceability for the job, including the inspection's total coverage, history of setups, Magnifi software version, and probes used, while generating high-quality, consistent reports.
Take a closer look at how to leverage SIMS PRO ECA here.
.png?preset=details-img-fb)


