Turbine Bore and Bolt Hole Inspection Made Efficient with ECA
Ask an expertNon-Destructive Evaluation (NDE) of critical power generation assets such as gas and steam turbines must offer a high probability of flaw detection. Minimal defects can result to catastrophic failure if left unmonitored. Current methods for inspecting turbines require a significant time investment without necessarily guaranteeing the detection of minute flaws. We present a solution that offers increased efficiency and comprehensive coverage during turbine bore and bolt hole inspection.
The Challenge
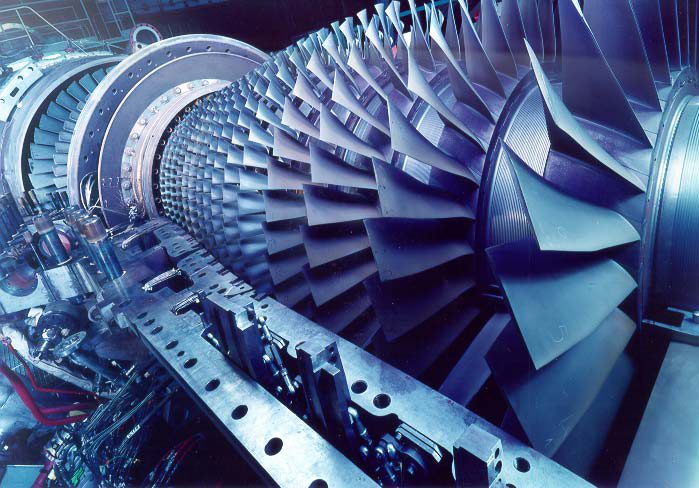
Turbine rotor disks and spacers experience high mechanical stressors making them susceptible to damage mechanisms. However, comprehensive inspection of these components is time consuming.

A tremendously massive metal disk rotating at several thousand revolutions per minute has the potential to become a hazardous weapon should a defect be left unchecked.
During operation, some regions of the disks and spacers of a rotor undergo exceptionally high mechanical stress. These critical regions include the bore and bolt holes. The surface of these regions must be in peak condition; not even the smallest dent or scratch can be tolerated as it could constitute a crack initiating site. Dovetail slots are also a critical portion of the turbine subjected to immense constraints.
During the maintenance phase, the turbine wheels are cleaned to obtain the perfect surface finish required. Before they are reassembled, Non-Destructive Testing (NDT) must be performed. Inspection and repair service providers typically rely on traditional surface inspection methods such as penetrant testing, while others use fully automated conventional Eddy Current Testing (ECT). The former is highly user dependent. The latter offers higher sensitivity and Probability of Detection (PoD), but the preparation and inspection time required increases life extension program costs.
The Solution
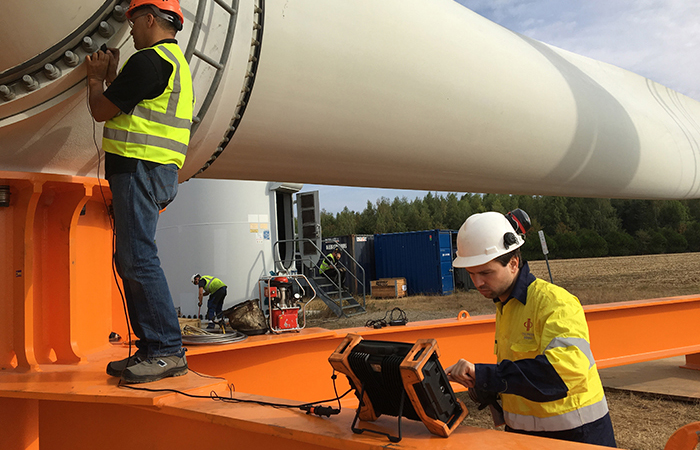
A dedicated manual scanner paired with advanced Eddy Current Array (ECA) inspection tools details objective condition assessments efficiently.

Eddy Current Array (ECA) makes it possible to perform these inspections more efficiently while maintaining the same level of detection capabilities, thanks to Eddyfi Technologies’ solution comprised of ECA probes paired with manually operated scanners. These inspection tools work in combination with the Ectane® instrument and Magnifi® software.
Inspection of each bore is performed in a single pass scan, while two quick passes are all that is needed for a bolt hole. Given that the probes can operate at a scanning speed of up to 250 millimeters (9.8in) per second, the full surface of the holes is covered from the front to the back of the disk, including both edges in just a few moments. Despite this rapid scanning, the probes still offer the required sensitivity to detect cracks as small as 0.5 millimeters (0.02in) long and 0.25 millimeters (0.01in) deep.
When equipped with cleverly designed manual scanners, the manipulation of the probes is effortless. More importantly, the scanner removes user dependency. With just a few simple steps, the tools are setup and ready to inspect. This solution is designed to adapt to various hole diameters and lengths, making it possible to use less equipment to inspect a wide range of models and stages.
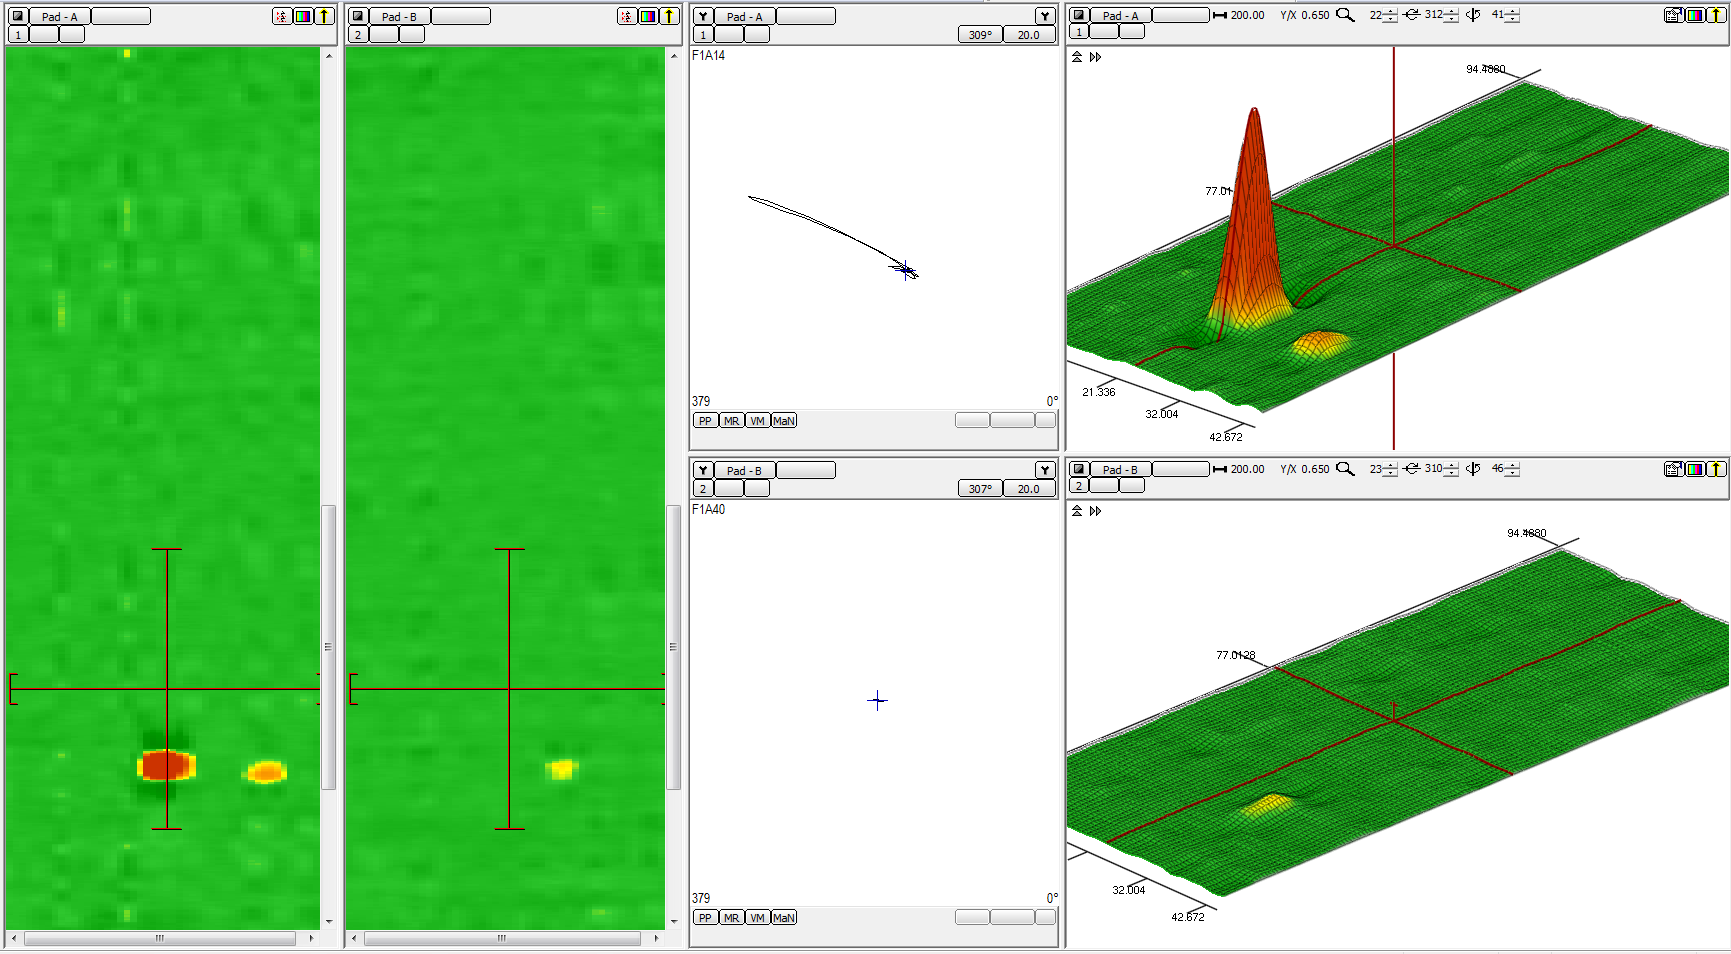
Learn moreThe scan below shows the detection of three EDM notches emulating the presence of axial cracks in a bore hole. The dimensions of the largest notch are 1.8x0.90mm (0.07x0.04in) and the smallest one is 0.50x0.25mm (0.02x0.01in). They are easily detected given the almost non-existent background signal, a result from the perfect condition of the surface.

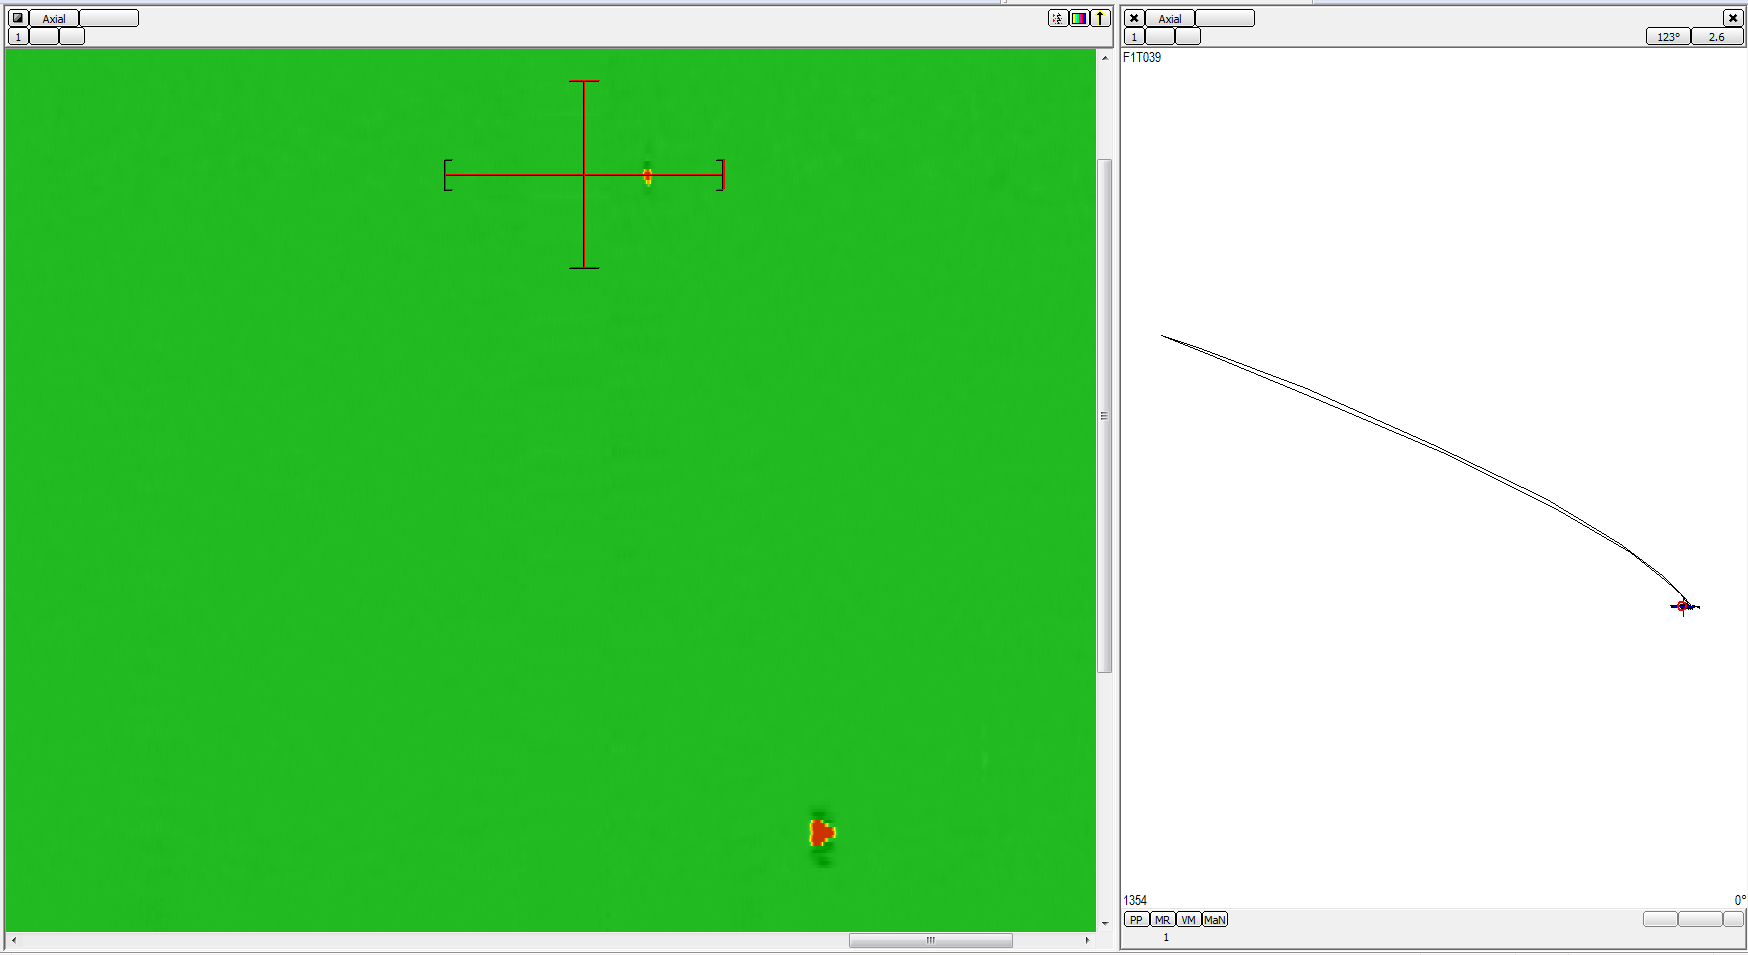
The following scan shows the detection of natural defects in a bore. The Signal-to-Noise Ratio (SNR) enables simple defect detection.

Benefits
- Technicians benefit from significantly shorter inspection times with enhanced defect detection capabilities and full data recording.
This solution offered by Eddyfi Technologies takes what would traditionally be hours of inspection time and reduces it to minutes. Decreasing time does not decrease the quality of data collection for even the smallest cracks. Technicians directly benefit from these detection capabilities with high speed scans and ease of operation. Removing user dependency with the use of scanners, encoded scans offers robust data traceability.


