Detecting and Measuring Flaws in Cast Austenitic Stainless Steels
Ask an expertCast Austenitic Stainless Steels (CASS) are commonly used in the various parts that make up a nuclear power plant, such as a Pressurized Water Reactor (PWR) or Boiling Water Reactor (BWR), because they are durable and corrosion resistant. However, these components are typically subject to extreme temperatures which can result in decreased material ductility and potential flaws. Detecting these defects has been possible with conventional Non-Destructive Testing (NDT) methods, but flaw sizing has historically been problematic from the irregular grain size of most CASS materials. The propagation of ultrasonic waves is considerably affected, resulting in difficult data interpretation. Recent advancements in Ultrasonic Testing (UT) technologies are offering a solution for the comprehensive inspection of austenitic alloy welds found in nuclear power reactor systems worldwide.
The Challenge
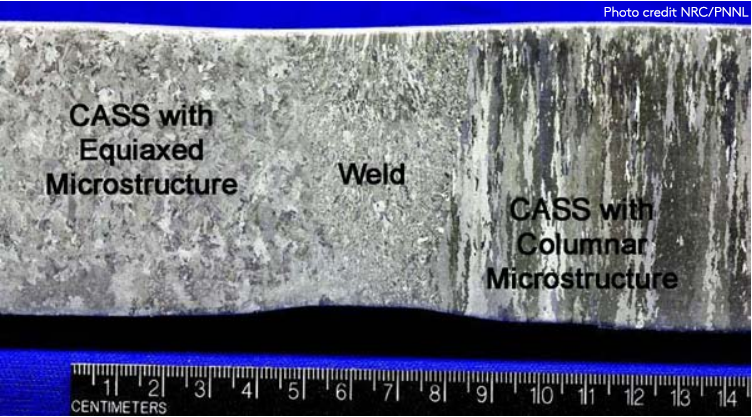
Cast Austenitic Stainless Steels (CASS) used across many critical components often feature irregular and large grain size, significantly impacting propagation of ultrasonic waves and resulting in difficult diagnostics.

Commonly used in nuclear power reactor systems because of its corrosion resistance and service durability, Cast Austenitic Stainless Steel is a coarse grained, elastically anisotropic material. Austenitic alloys including Inconel, 304 and 316 stainless steels are corrosion resistant because they contain chromium which forms a self-healing protective surface film. Yet, austenitic alloys are not impervious to cracking. The assets where they are used typically have a low tolerance to leaks for security (i.e. radiation) or efficiency reasons. Therefore, it is important to accurately detect the presence of cracks in austenitic alloy welds and characterize their severity. Manufacturing processes typically result in a variety of microstructures that are difficult to inspect through ultrasonic testing. The challenge in reliable Non-Destructive Evaluation (NDE) of CASS components is mostly due to detrimental effects of wave interactions with coarse-grain microstructures inherent to this material class. Shear waves in CASS travel under severe attenuation, reducing the ultrasound inspection only to longitudinal waves.
The Solution
Specific Dual Matrix Array (DMA) ultrasonic probes with large apertures controlled by a PAUT instrument capable of firing 64-element probes simultaneously – such firing power being available, for example, with a 64:128PR configuration.

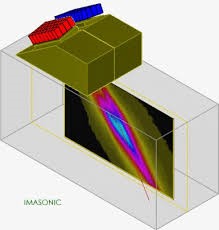
Beam profile simulation of a DMA probe

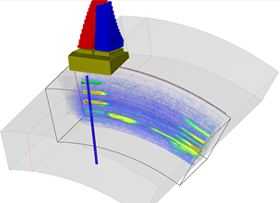
Visualization of DMA data using Enlight
To overcome this inspection challenge, industry has recommended the use of dual probes in Transmit-Receive Longitudinal (TRL) waves. These probes are referred to as dual linear and dual matrix arrays, or DLA and DMA.
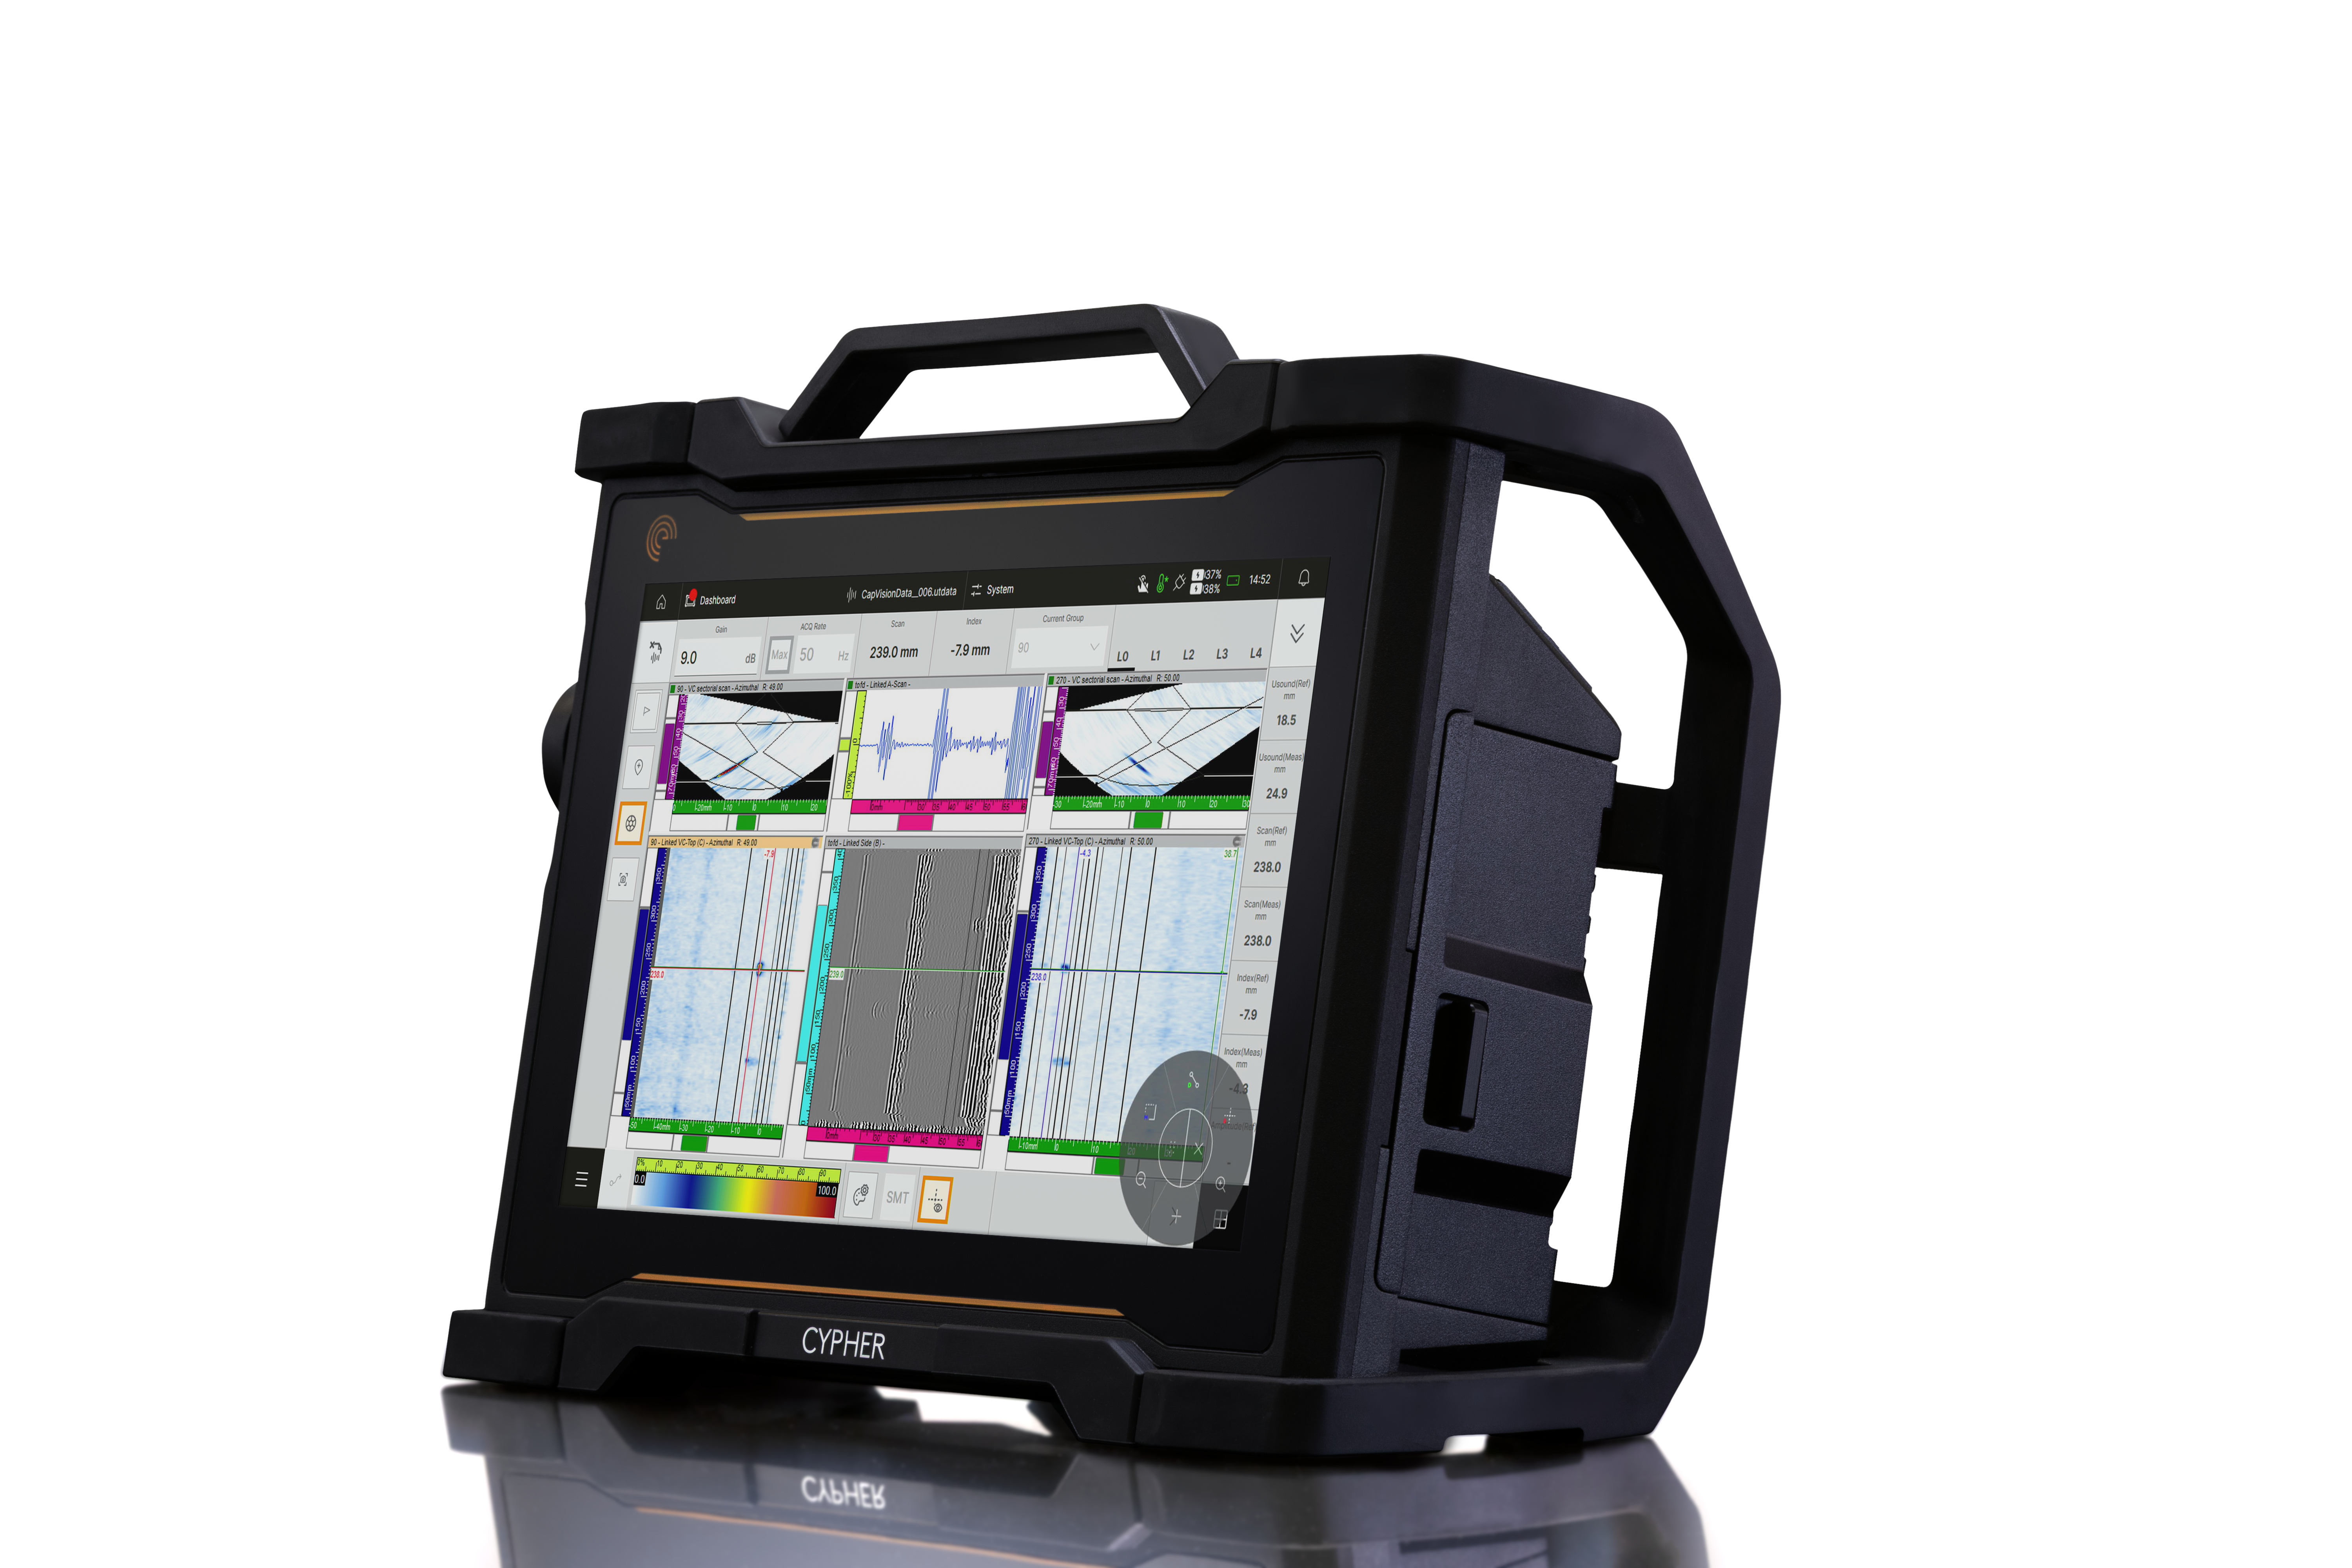
In the TRL technique, also known as pitch-catch technique, the transmitter and receiver transducers are unique so that collected signals originate from the location where both beams cross each other. By using a separate pulser and receiver, the wedge size is reduced, and the probe can be used closer to a weld for higher sensitivity. Combining this approach with a large aperture and precise steering enables increased Signal-to-Noise Ratio (SNR) and Probability of Detection (PoD) in thick specimen. In terms of equipment solutions, it translates into 64+ parallel architecture systems driving probes with 64+ elements. Both the Cypher® and Panther™ systems offer 64:64 and 64:128 architectures with a standard DMA/DLA interface. Inspectors can configure the entire inspection procedure directly from the unit using the embedded software onboard Cypher and Panther instruments. These dual probes can be used with a set of optimized techniques for each inspection case. Phased array sector scanning can be set and adjusted by the user as well as Total Focusing Method (TFM and others) in real-time. Depending on the attenuation of the material under analysis, inspectors can optimize their inspection procedure for the best possible result, leveraging SNR and PoD.
The proposed solution includes:
- Cypher or Panther units to handle high channel count dual probes, live software configuration, high resolution sector scanning, TFM, and automatic TCG;
- Cypher or Acquire software with the most up-to-date version;
- 1- or 2-axis scanner for data encoding and defect positioning;
- Linear, DLA and DMA probes and wedge kits;
- Ultravision® for data analysis.
Advanced hardware solutions powered by leading edge software offered by Eddyfi Technologies allows the reliable and actionable data collection results for the inspection of CASS materials found in critical components across nuclear plants and power generation sectors.
Learn more
Benefits
- On-board setup of dual probes
- Advanced ultrasonic techniques available in real-time
- High-channel count phased array probes
- Automatic TCG for dual probes
- Compatible with all dual probe manufacturers
Advanced ultrasonic techniques are available in real time. With Phased Array Ultrasonic Testing (PAUT), TFM and hybrid methods, operators can optimize settings for the best inspection possible. High channel count phased array probes are easily handled. The Cypher 64:128 and Panther 128 work with up to 128-element dual probes, while probes with more than that can be used with the most advanced Panther configuration available. Cypher’s intuitive interface allows the on-board setup and configuration of linear, DLA and DMA probes with a couple of clicks. There is no need for third party software; all parameters are specified directly on the Cypher or Panther. A probe numbering software tool helps users easily configure their probes with the correct orientation; it is compatible with all dual probe manufacturers. One of the most beneficial features is the automatic TCG available for dual probes. Inspectors can spend less time with procedure configuration for more efficient assessments.


