High-temperature inspection with ACFM
Ask an expertThe Challenge
Conduct high temperature inspections up to 500°C, for long periods, gaining accurate measurement data on surface breaking cracks.
The ability to inspect at elevated temperatures can provide significant cost savings by avoiding plant shut down, additionally avoiding any problems of cracks closing up when structures are cooled down.
The Solution
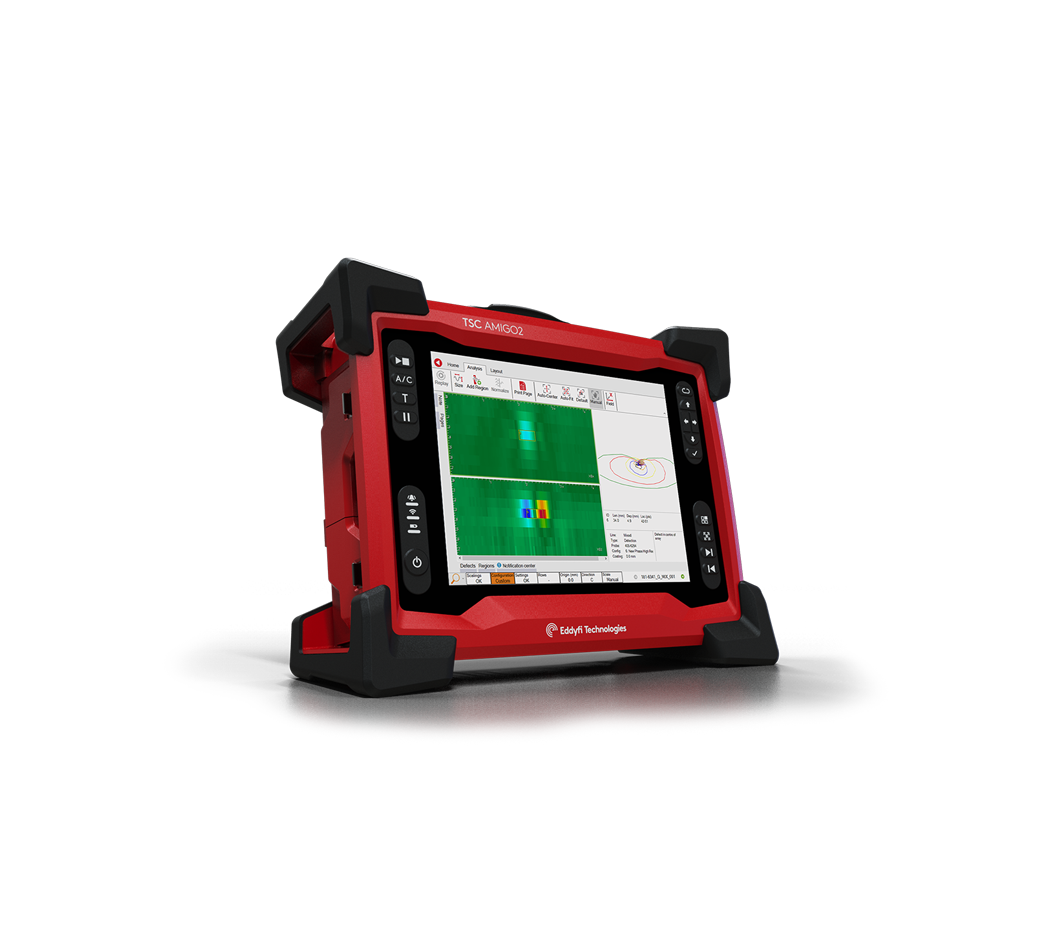
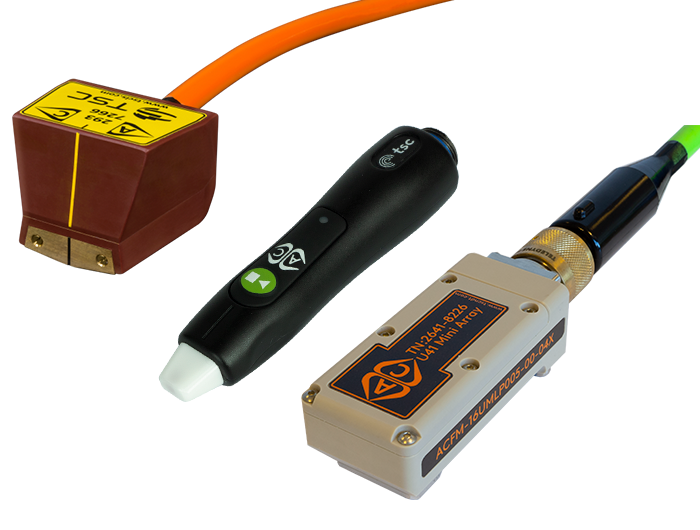
Deploy high-temperature ACFM® probe range, partnered by the Amigo™
By using special temperature resistant components, ACFM probes can be designed to inspect at temperatures of 500°C (930°F) or more for long periods. Even standard ACFM probes can be used at high temperatures for short periods because of the ceramic noses used to house the sense coils.
Examples of the use of ACFM for high temperature inspection
- Hot pipework in petrochemical plant.
- Monitoring of defect-prone sites under lagging, by permanently installing high temperature array probes.
- Interpass inspection during welding process without having to allow each bead to cool down and then be reheated.
 Learn more
Standard ACFM Amigo probes can be used to inspect high temperature components as long as the internal temperature of the probe does not exceed around 80°C (175°F). The ceramic noses on standard probes help insulate the sensor coils, giving protection for short periods. This protection is improved slightly by the ceramic paste used to surround the coils in our elevated temperature probes. In this way standard probes can be used to inspect surfaces at 200–300°C (400–570°F) as long as the contact time for each scan is kept to a few seconds, and the probe is allowed to cool down in between scans.
Probes designed for underwater use (where electronics are not housed in the probe body) can be used for continuous inspections a t temperatures up to 120°C (250°F), as long as the probe cable is not in contact with the hot surface.
For very high temperature inspection, we can manufacture special purpose ACFM probes using sensors made from heat-resistant insulated nickel wire which can be used on surfaces up to about 500°C (930°F). Users should be aware, however, that the thicker wire used means that sensitivity to shallow or short defects is reduced. In ferrous steel, the minimum defect reliably detected is approximately 10 mm long by 2 mm deep, but defects down to 1 mm deep can be detected when the inspection surface is smooth.
It should be noted that there is a small variation (of the order of 15%) in depth sizing results versus probe temperature. For consistency, all high temperature probes are set up at Eddyfi Technologies to give accurate sizing at room temperature. Therefore, once a defect has been detected using a high temperature probe, the probe should be allowed to cool down before taking a quick scan of the defect for sizing purposes.
Probes
Two basic types of high temperature probe are available - with or without forced air cooling. For access into tight geometries, the small size of the probe head means that there is no room for a coolant path. In this design, the maximum continuous contact temperature is limited to the 800°C that the internal electronics can withstand. However, the probe nose can withstand high temperatures for several minutes.
Where access is not restricted, a weld-type probe can be used. This not only allows forced air-cooling to be incorporated, but also is much more stable to deploy.
With forced air-cooling, the maximum continuous contact temperature is much higher, but dependent on flow rates. At 10 litres minimum with air at 20°C, this temperature is 400°C.

Benefits
Huge cost savings by avoiding plant shut down.
Avoid issues of cracks closing up when structures are cooled for inspection programs.
- Consistent inspection campaign management data due to the ability to deliver ongoing inspections and monitoring throughout an asset’s lifecycle.


